The restoration process completed, continued:
Remember how bad the control panel was? Here it is with a new overlay, new molding, new buttons, and new leaf switches.
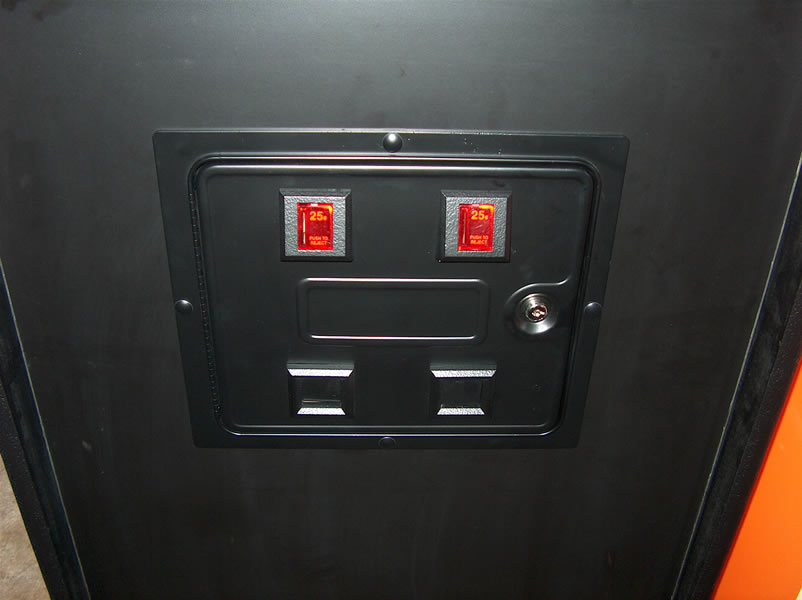
Here's the coin door. The door, frame, and trim parts were stripped (sandblasted), repainted, and reassembled. The lock and reject buttons are new. The original games reject buttons did not light up because they weren't wired for lamps and no lamp sockets were installed at the factory. The coin-mech chassis was however made to support lamps. I like all my games to light up so I installed lamp sockets and wired them up to the same 6 VAC supply that powers the CRT heater filement. I also installed a shiny mirror-finish Cinematronics logo label in the center of the door. The Rock-Ola didn't have a sticker, but too bad. I like it. Unfortunately, it's not shown in this picture.

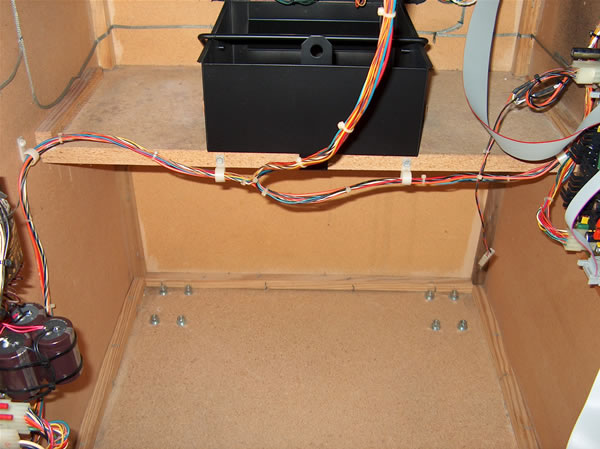
Here's the cleaned and reassembled coin mech stuff.
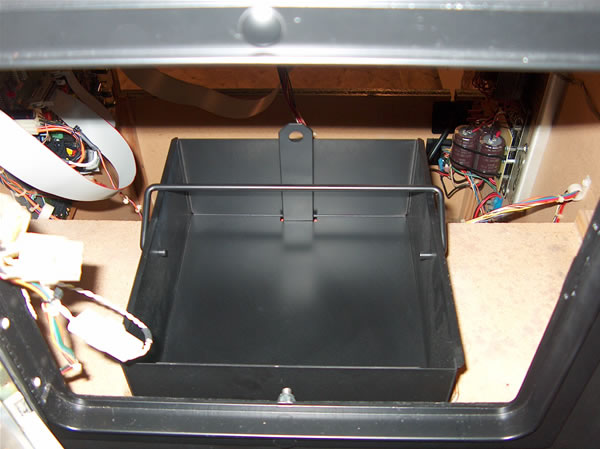
See here the clean interior and the painted coin box.


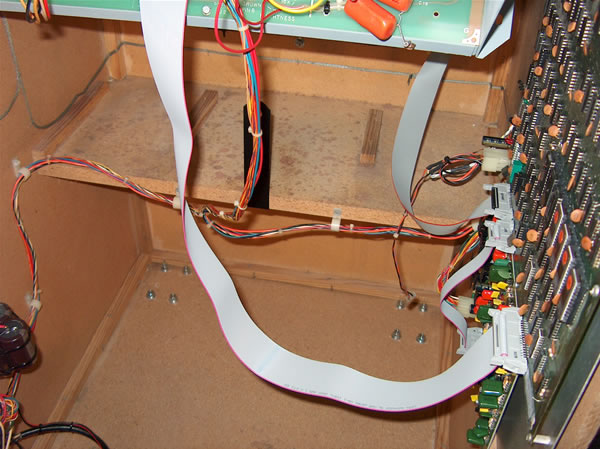
This shot shows the mounted game boards and the clean new ribbon cables.

End of Star Castle Presentation.
Back to Star Castle page 6 of 8 or continue to Star Castle page 8 of 8 (monitor rebuild tips).
Arcade List ---- or ---- Home