
Cabinet:
Restoration Completed:
Finally, all the painting is done. It took me two weeks from beginning to end, working every day, to complete the entire cabinet restoration job. Here's the finished cabinet with the masks removed.
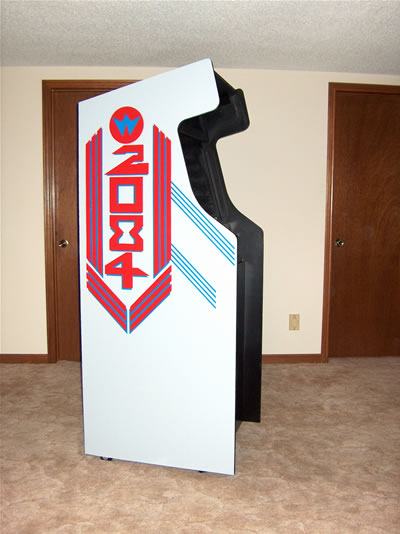


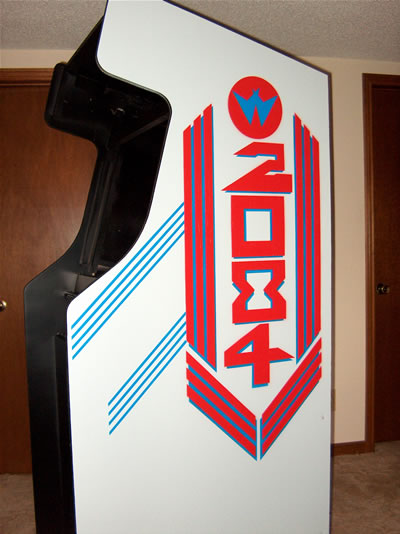

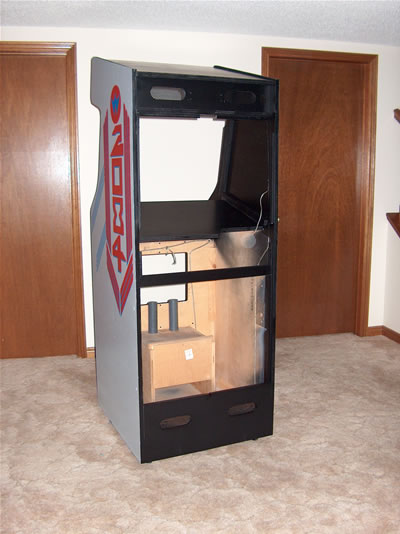
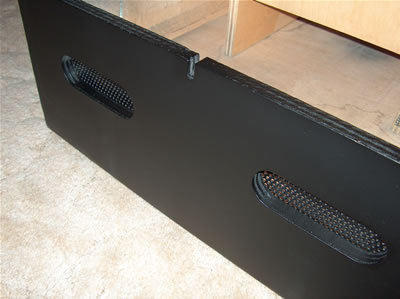
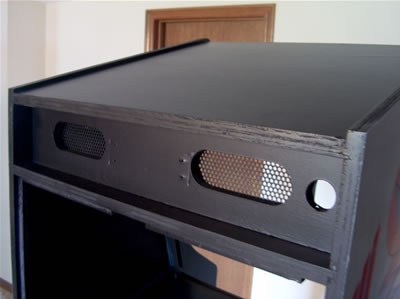
Looks like a little overspray got into the interior below, but it's not bad and not unlike the factory original overspray. I just added a little bit more.

The cabinet turned out almost perfect (IMHO) and I am very happy with the results of my labor. The factory original paintjob showed some red and blue overspray in some areas. My new paintjob shows some overspray also but not too much. It's just enough to look authentic. Some people might have become upset upon seeing the overspray but I didn't because it's the way they were made originally. I did run into a problem with my mattes that could have become a disaster but fortunately things worked out okay. On the last day of painting, I had to put on the final coat of red. In previous painting sessions, I did it in the evening while it was cool and dark outside. On the final day, I worked in the middle of the day under the hot sun and it was very humid. This environment caused the mattes to change shape relatively dramatically. Some areas moved as much as 2mm. I had a very hard time finishing the red because the mattes moved so much that they were standing far off the cab wall and were not lying exactly over the first red coat. This exposed a tiny amount of gray and blue that was not covered by the first coat. I rolled the cab back into my garage and out of the sun and waited an hour, but the mattes did not return to their original shape. Apparently, the damage was done. There was absolutely nothing that I could do so I went ahead and painted anyway. In the end, even under very close inspection, I could not tell the difference. Regardless of any problems, the final result was excellent. Next time, however, I will probably try stencils. If I ever use the mattes again, I'll spray them on the back with low-tack adhesive so they'll stick to the cabinet walls. All of the problems that I experienced came about because I didn't do this step.
Color Picking and Tools:
Before all of the cabinet restoration began, I had to figure out what paint colors to purchase. I brought some color swatches home from a local paint store and held them up to the original sideart. I chose the colors that seemed closest. None were exact. The gray was really a tough decision because I wanted something that would be attractive (that in my mind being a lot lighter) but none of the original base color was recognizable. The entire machine was covered by an ugly yellowish spotty scummy residue (maybe smoke damage, maybe old laquer, maybe both). I took my color choices back to the store and they mixed it on the spot. After I had purchased the paint, I started sanding it a lot and it looked much lighter than before. I placed my gray color sample up to it and it was pretty close.
All of the paint used was alkyd oil base interior enamel. All of the painting was done using a compressed air gun. My compressor is a Husky 125psi, 8G tank, good for 4.5 SCPM @ 40psi or 3.5 @ 90. It cost me only $200 on sale at Home Depot and it came with a paint sprayer, impact wrench, brad nailer/stapler gun, impact hammer, tire attachment with gauge, and other accessories. I bought a separate 50 foot airhose and a filter/dryer thingy so I could paint without worrying about water getting into the paint and so I could move around without moving the compressor. It turned out to be a really good investment. The compressor and all of the tools have been working great and were a great asset to the restoration project.
In hindsight, I think the red might actually be just a twinge lighter than it should be. I think the blue is a very good match with respect to my own original cab color. The gray is anyone's guess but I like it. After seeing the machine all assembled later, I really liked it a lot and I wouldn't change it even if I could. I know some folks might prefer the addition of a metallic effect. Some might even prefer outright silver. I've heard some say that standard silver is too bright. I think so too. Mine does not have any fine metallic in it, but I still am happy with it.
Go back to page 14 ---- or ---- Continue to page 16
Arcade List ---- or ---- Home