Some notes from Archer:

"The attachment details some pics of my Missile command restoration, sorry, rebuild! Notice things like the lettering on the coin shoot red light covers... this cab was done for a MC world record scorer whos now in his 40's. The artwork is my reproduction using 0.4mm thick scuff proof polymer coated semi stiff synthetic paper and is printed on a 3,000 dpi printer using fade proof UV inks. This art is sooo much easier to apply than ultra thin vinyl silkscreen stuff that just shows up every spec beneath and usually gets ridden with air bubbles or wrinkles if you're not careful. My art just rolls out dead smooth hiding wood imperfections, and looks good each time every time. I've also shrunk/adapted this to suit mini cabaret and have produced this, along with a more colourful mini CPO like its big brother. I just need to find a day spare to do it. I've done similar preparatory artwork for battlezone mini, asteroids mini, and tempest."

001_Missile_command_as_found_sad_but_saveable.jpg
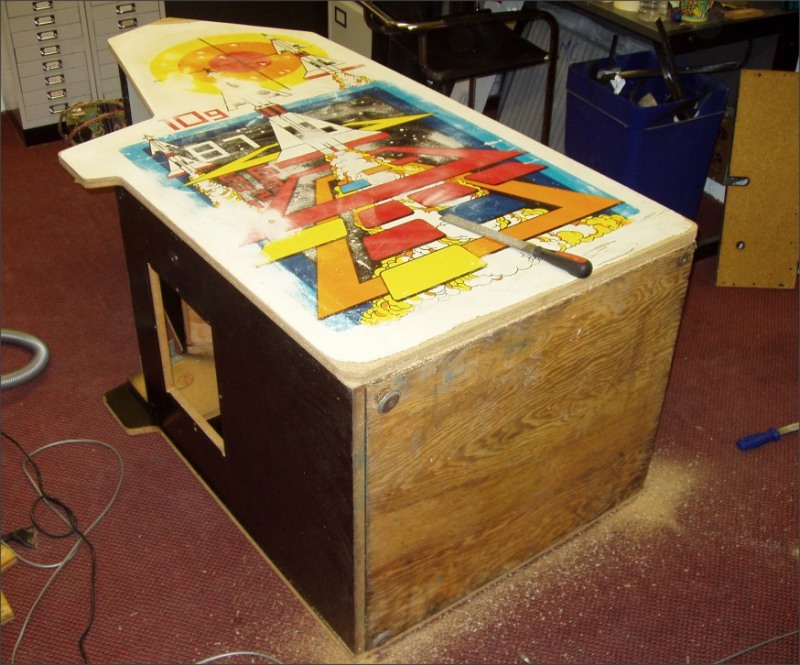
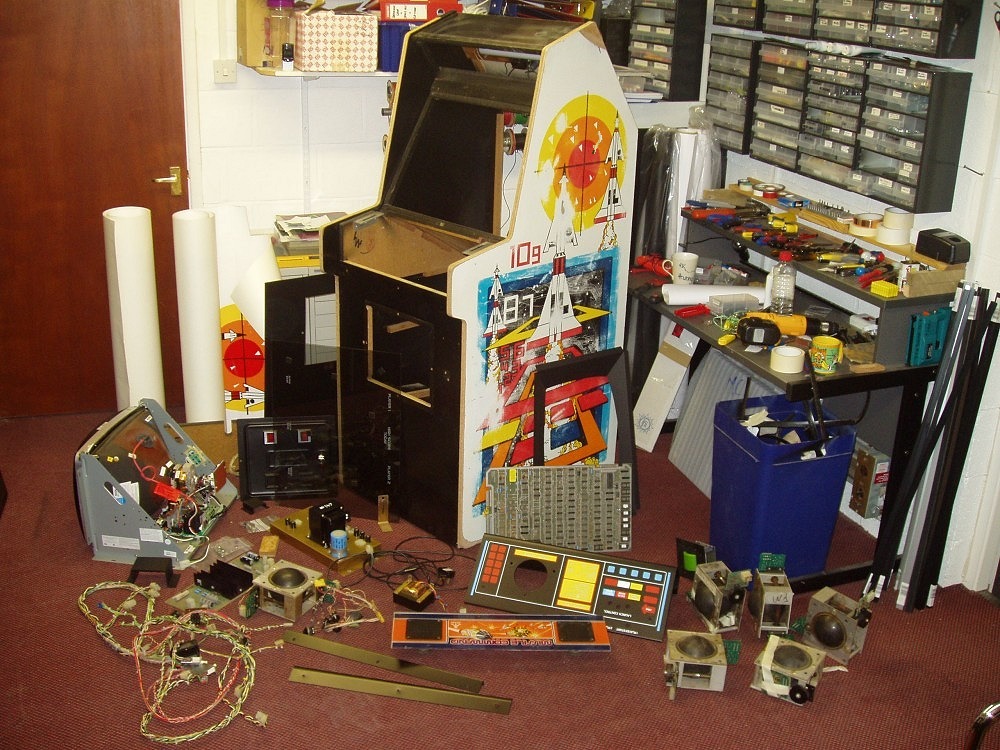
001 Missile command as found sad but saveable
002_MC_rusted_solid_control_panel_and_trackball.jpg
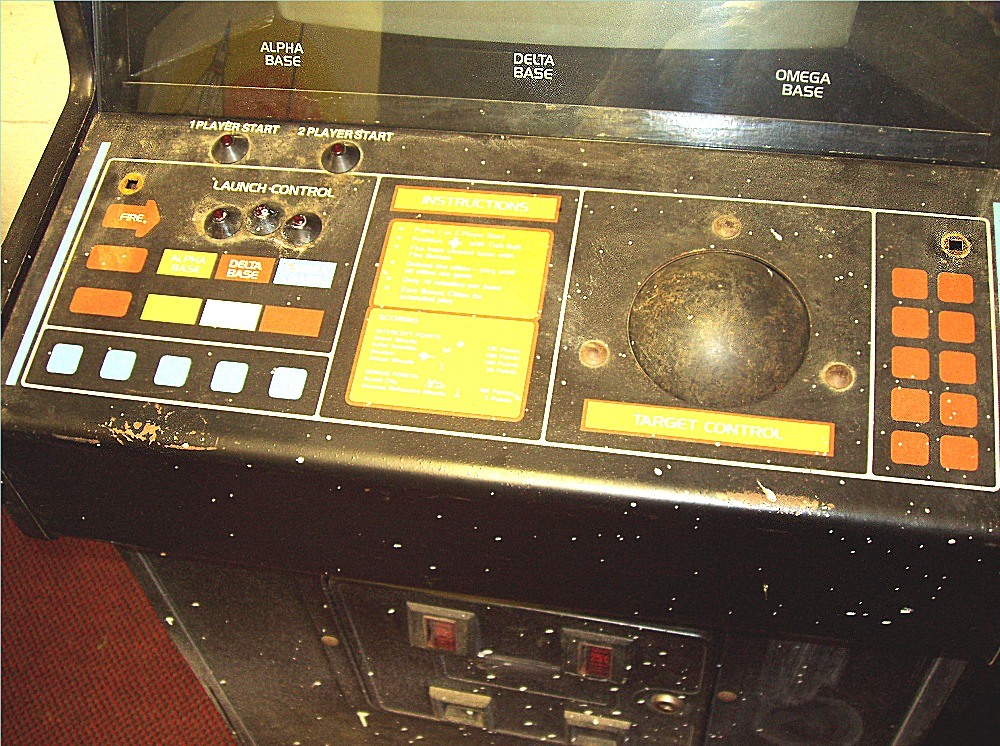
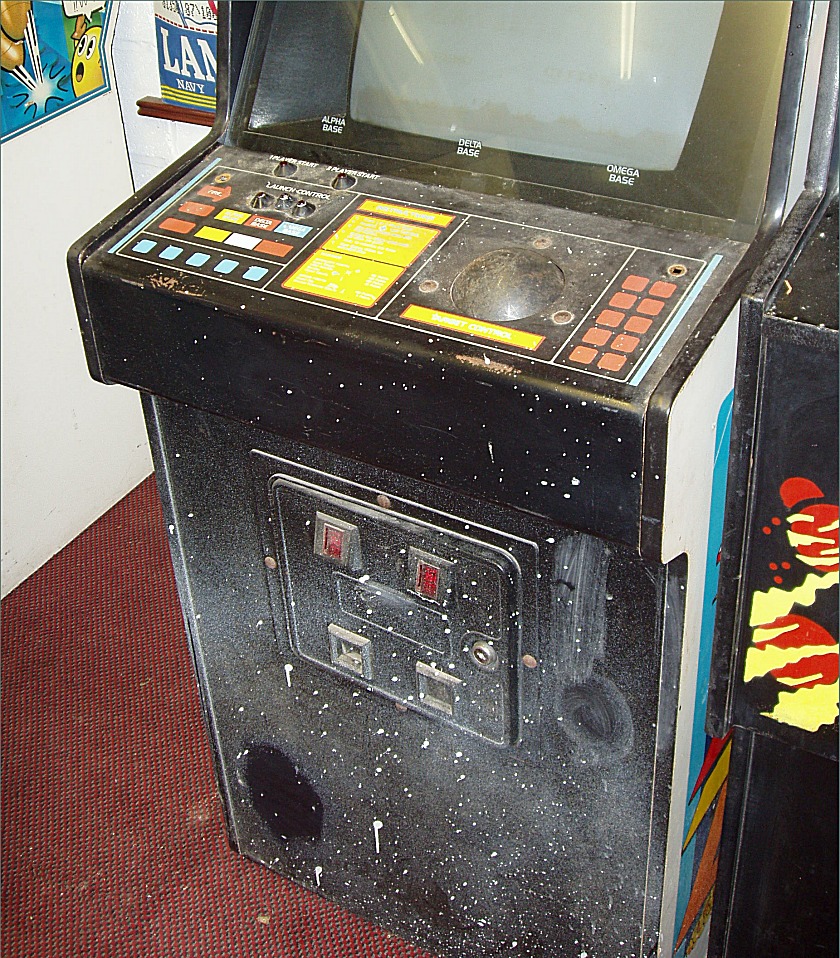
002 MC rusted solid control panel and trackball
003_25_years_of_dust_on_inside.jpg
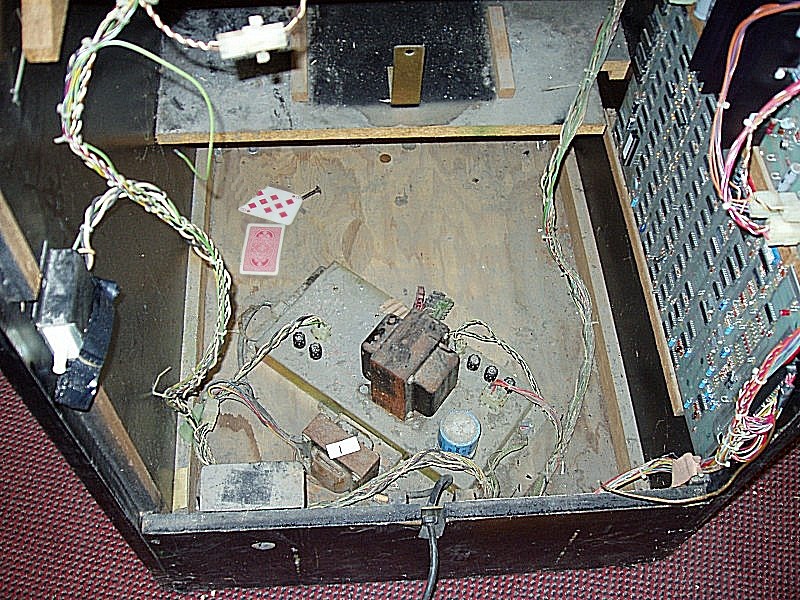
003 25 years of dust on inside
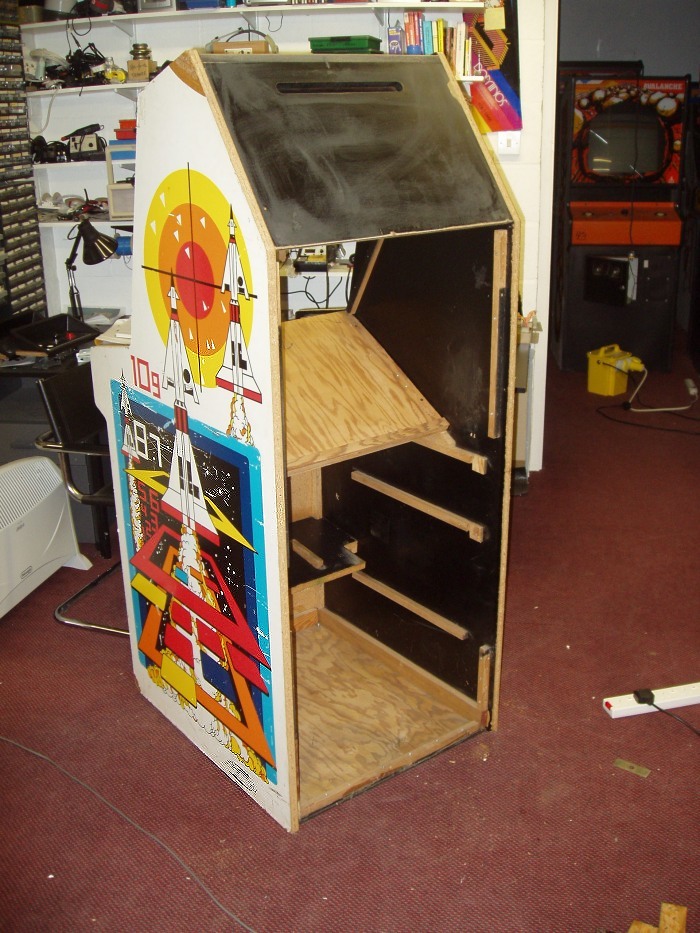
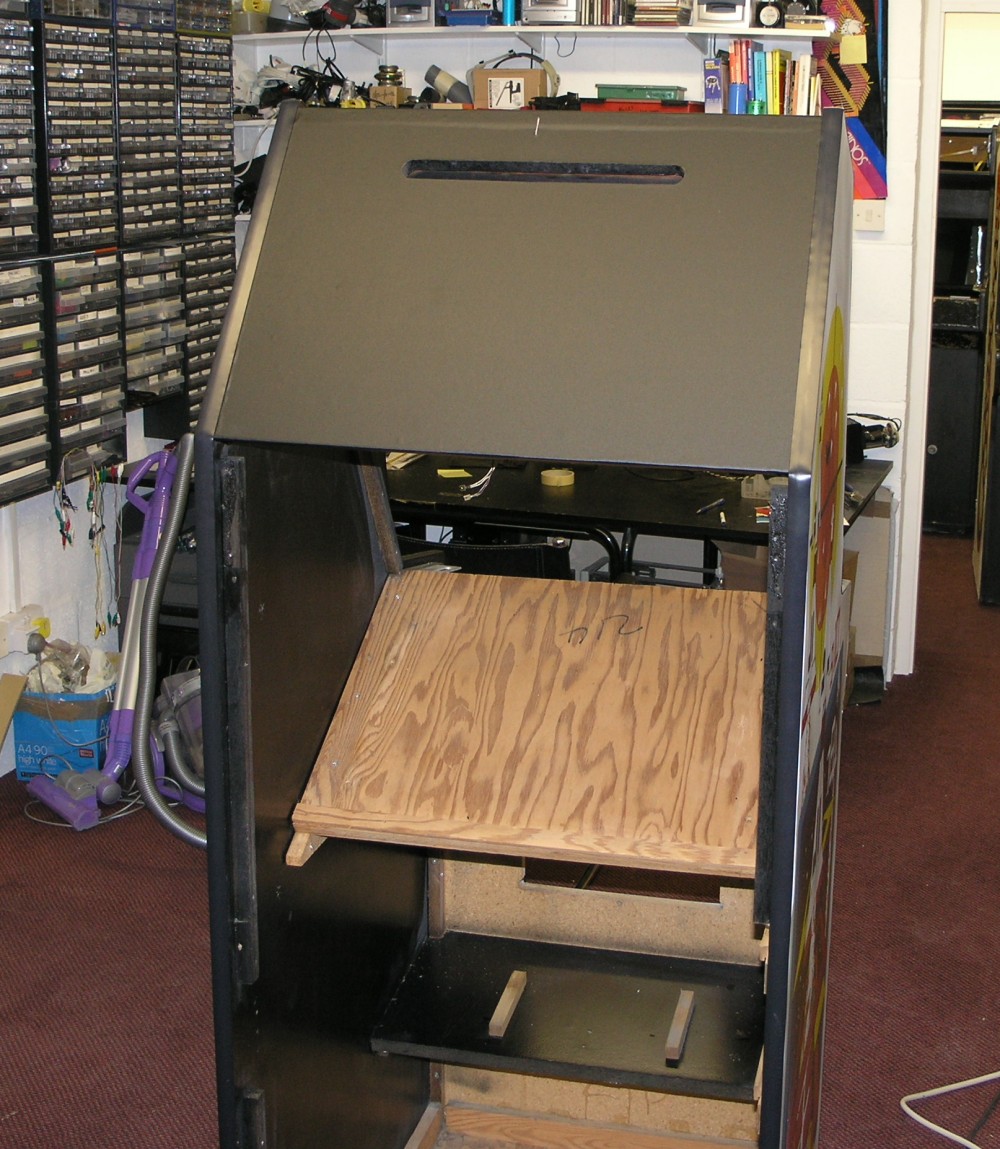
004_stripped_out.jpg
004 stripped out
005_filling_and_smoothing_out_damaged_sides.jpg
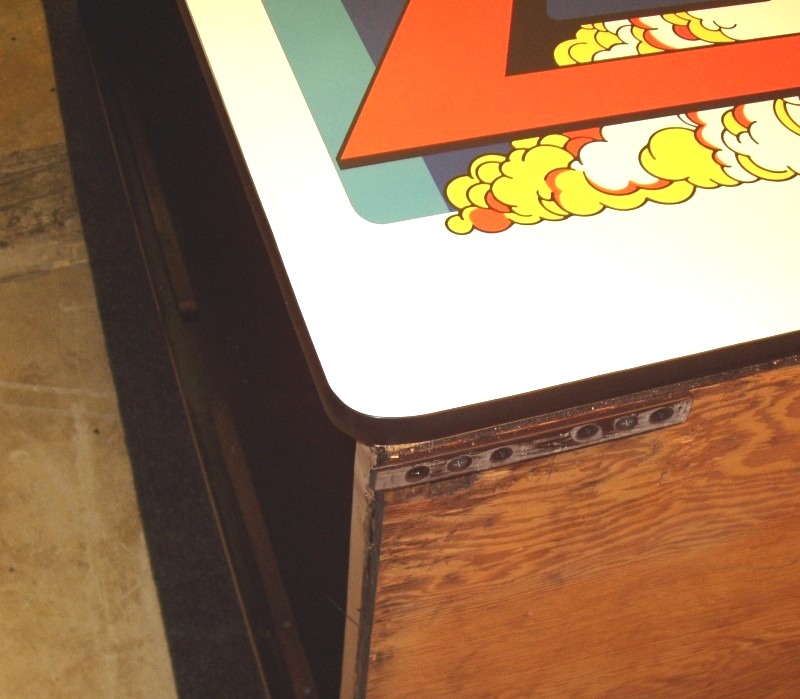
005 filling and smoothing out damaged sides
005A_Using_6mm_rounded_builders_straps_to_take_corner_weight.jpg
005A Using 6mm rounded builders straps to take corner weight
006_power_supply_before.jpg
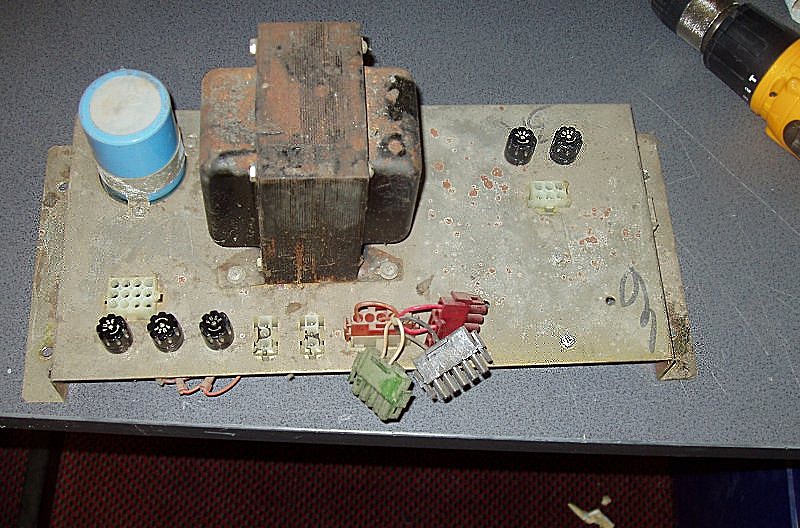
006 power supply before
007_power_supply_AFTER.jpg
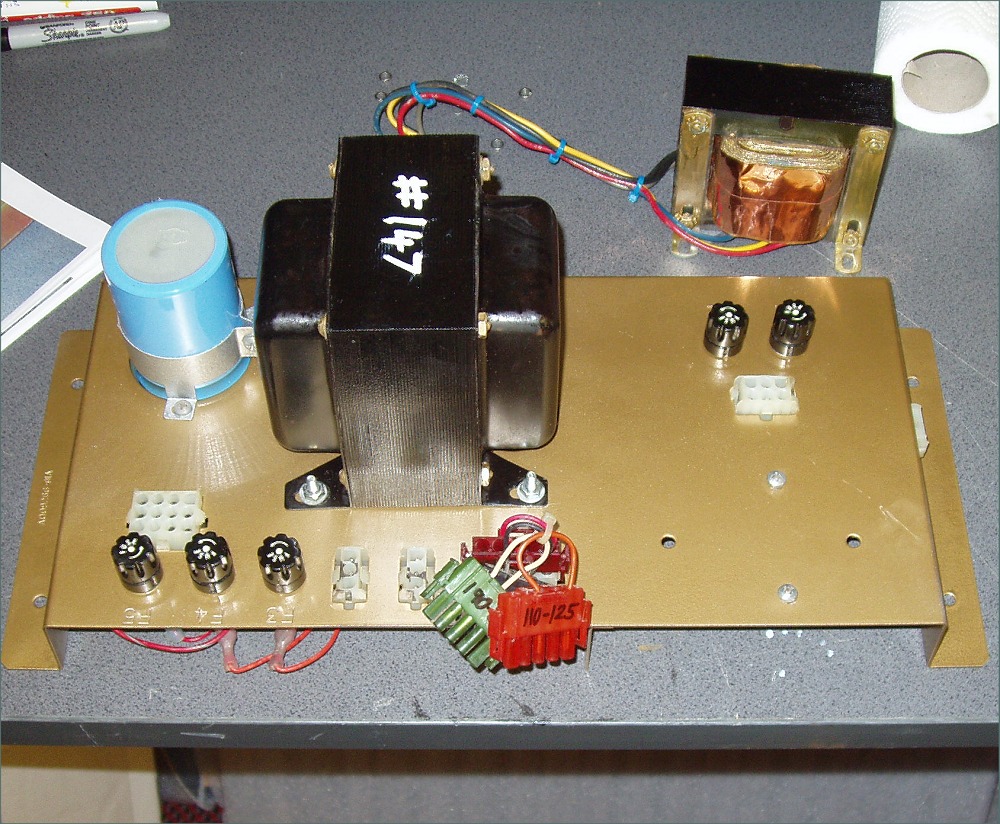
007 power supply AFTER
008_fresh_made_new_control_panel_and_art.jpg
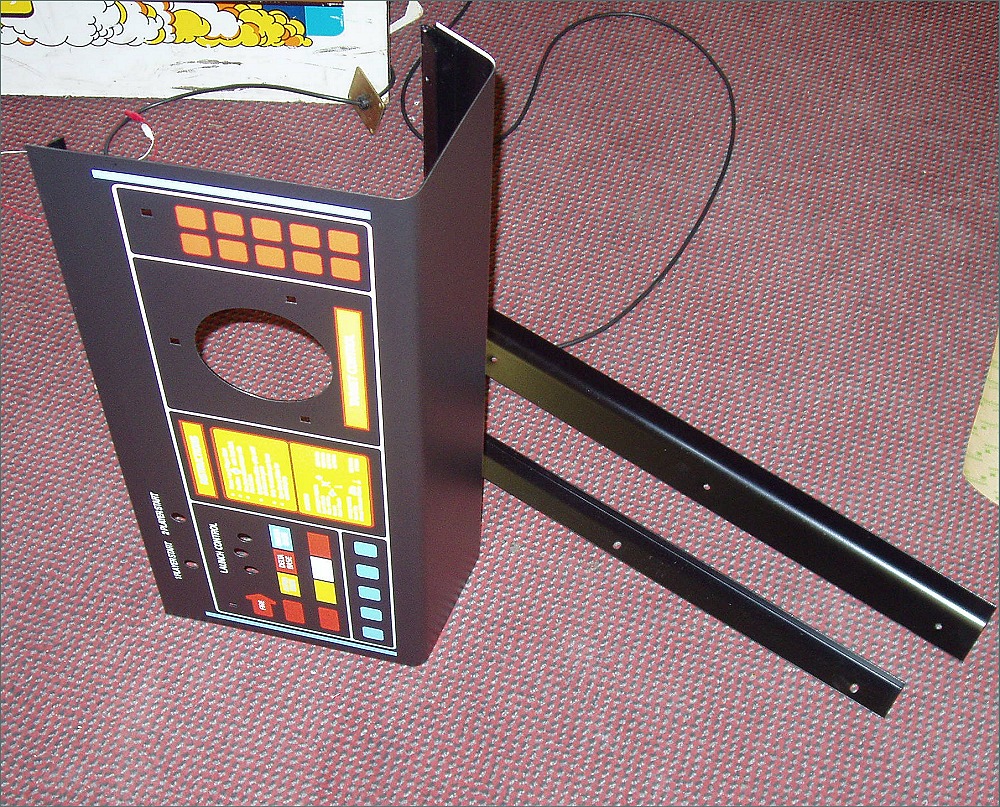
008 fresh made new control panel and art
009_DIY_missile_command_bits_ready_for_reassembly.jpg
009 DIY missile command bits ready for reassembly
009A_brand_new_glass_and_lettering.jpg
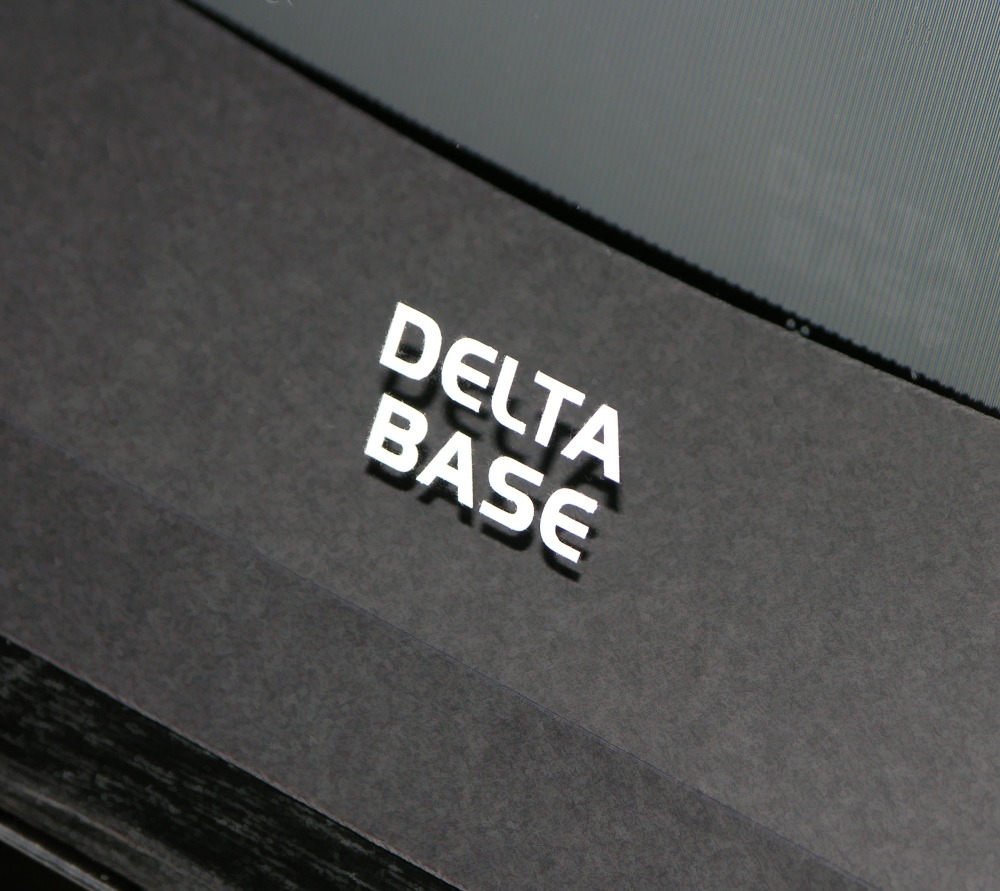
009A brand new glass and lettering
009B_New_front_foamex_being_cut_to_size.jpg
009B New front foamex being cut to size
010_preped_wood_sides_with_underlayer.jpg
010 preped wood sides with underlayer
011_my_own_300_dpi_sideart_drying.jpg
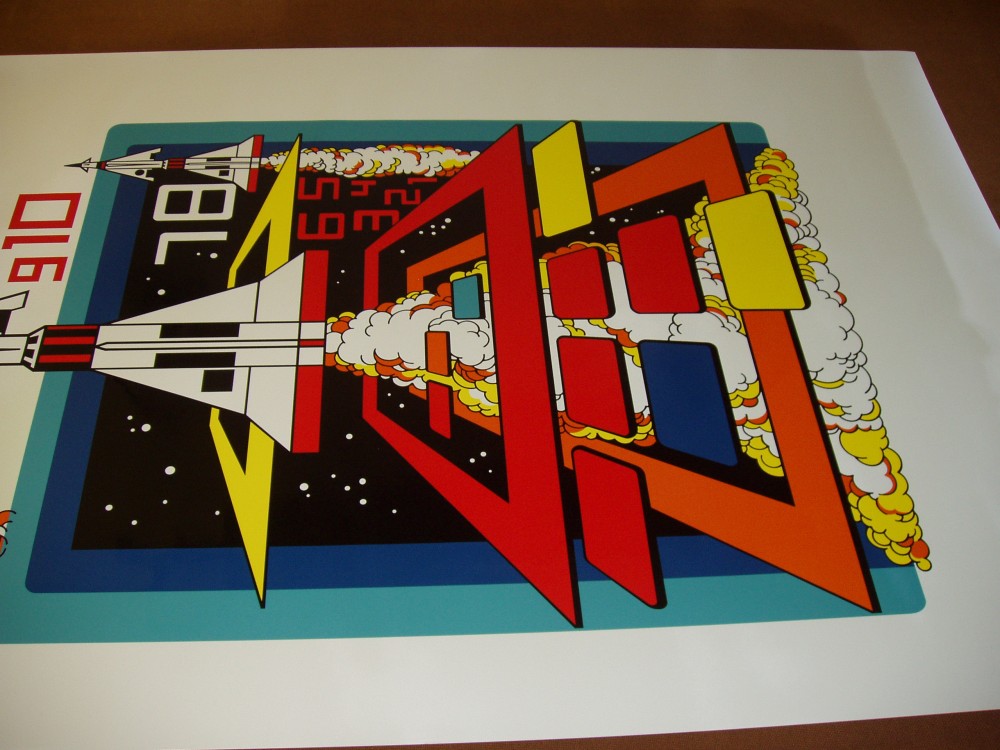
011 my own 300 dpi sideart drying
012_fitted_art_trimed_plus_new_t-molding_and_metal_skids.jpg
012 fitted art trimed plus new t-molding and metal skids
012A__new_bezel_and_new_glass_with_my_new_letters.jpg
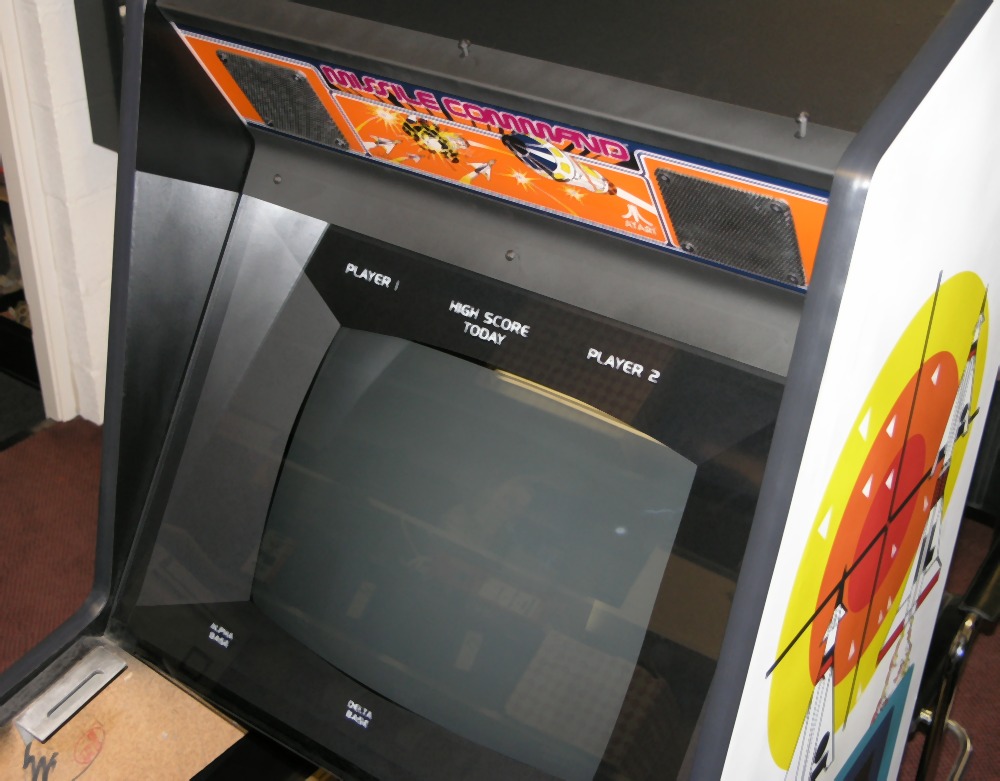
012A new bezel and new glass with my new letters
012B_new_vinyl_top_2nd_attempt.jpg
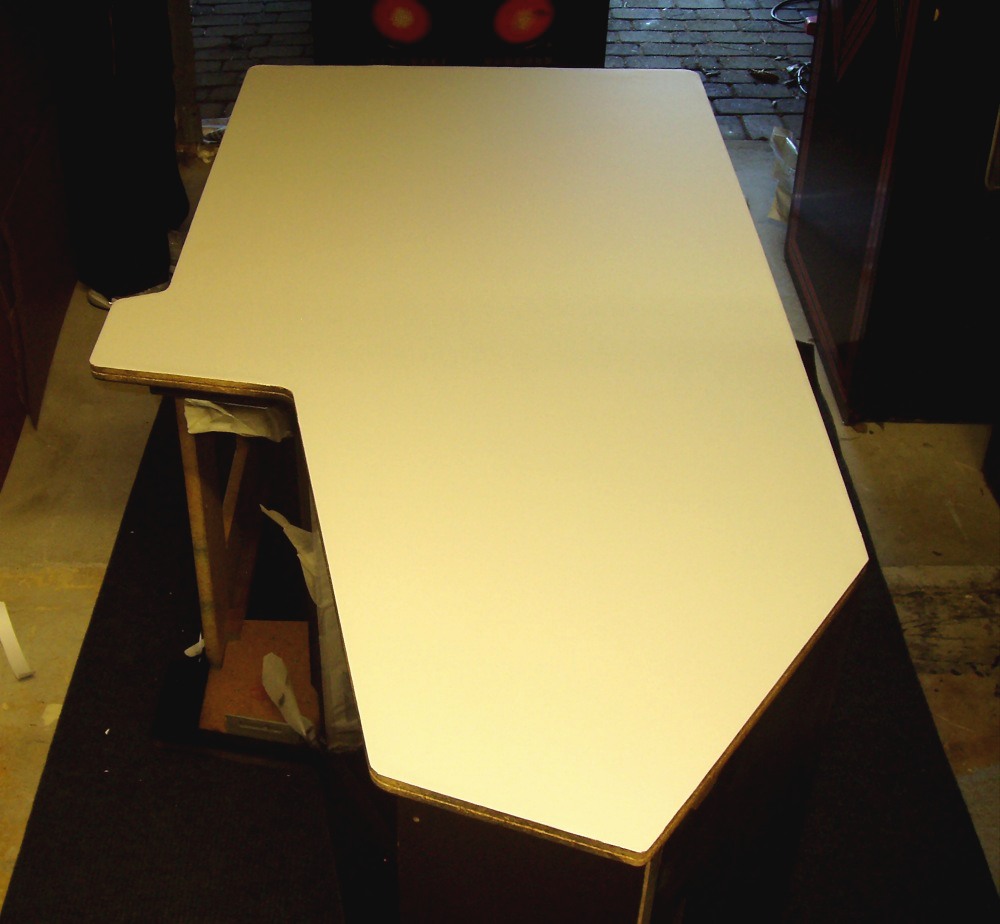
012B new vinyl top 2nd attempt
013_refitted_insides_with_new_power_supply_boards_and_loom.jpg
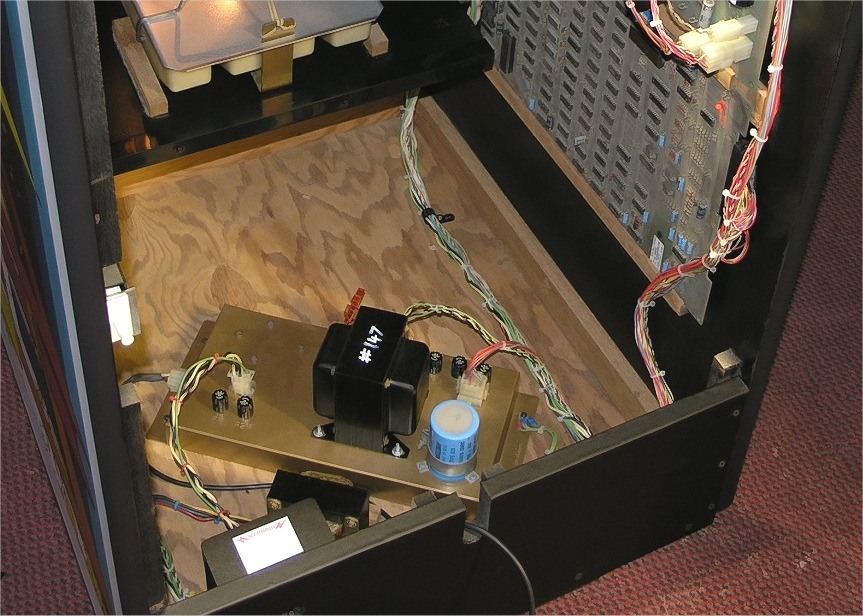
013 refitted insides with new power supply boards and loom
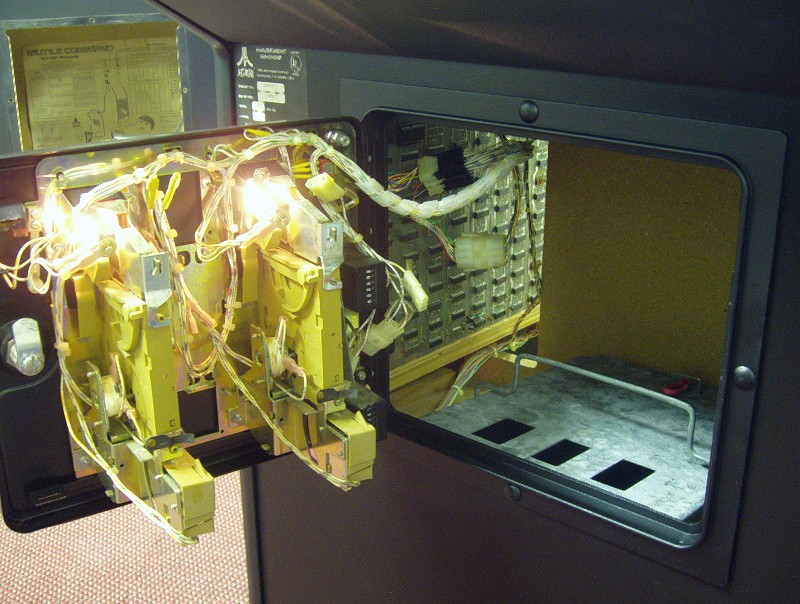
013B_coin_mechs.jpg
013B coin mechs
013C_New_spinal_cord_section.jpg
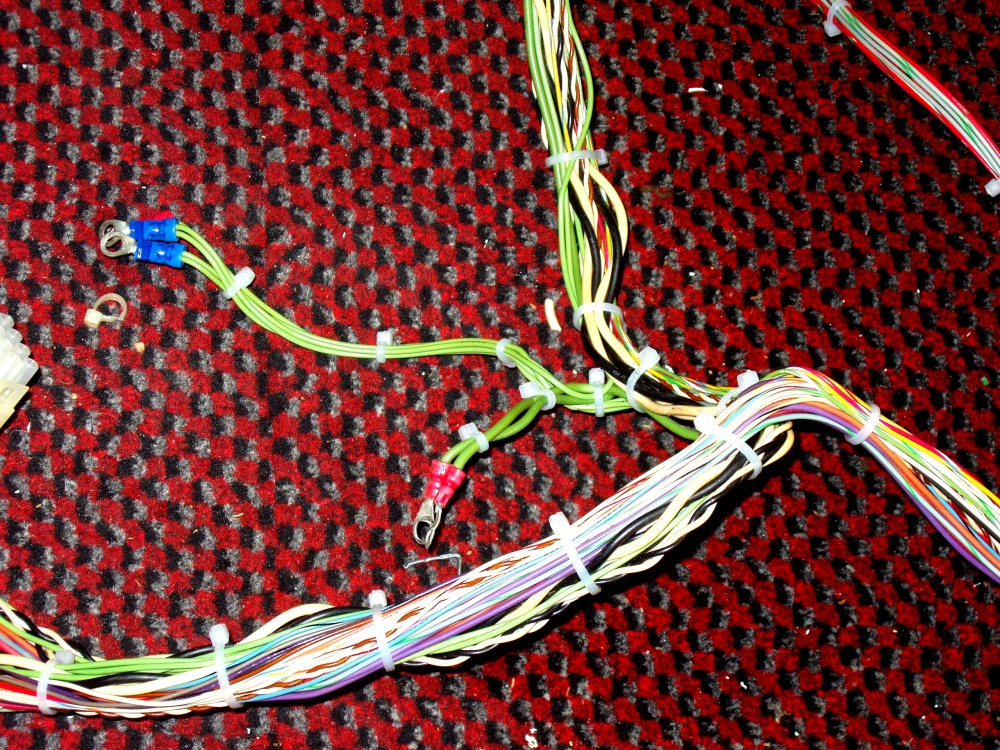
013C New spinal cord section
014_shot_blasted_renewed_coin_door_and_custom_coin_slots.jpg
014 shot blasted renewed coin door and custom coin slots
014A_Track_ball_strip_n_rebuild_.jpg
014A Track ball strip n rebuild
014C_New_bearings_and_rollers.jpg
014C New bearings and rollers
015_new_back_door_wood_and_instructions.jpg
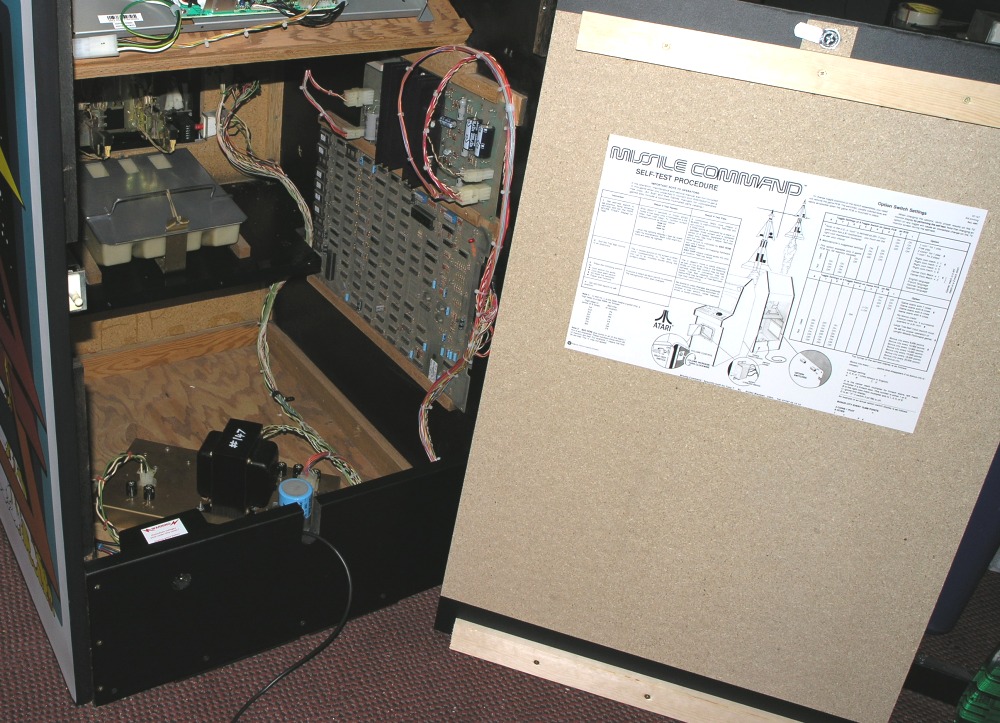
015 new back door wood and instructions
016_new_rear_labels_and_replacment_textured_vinyl_wood.jpg
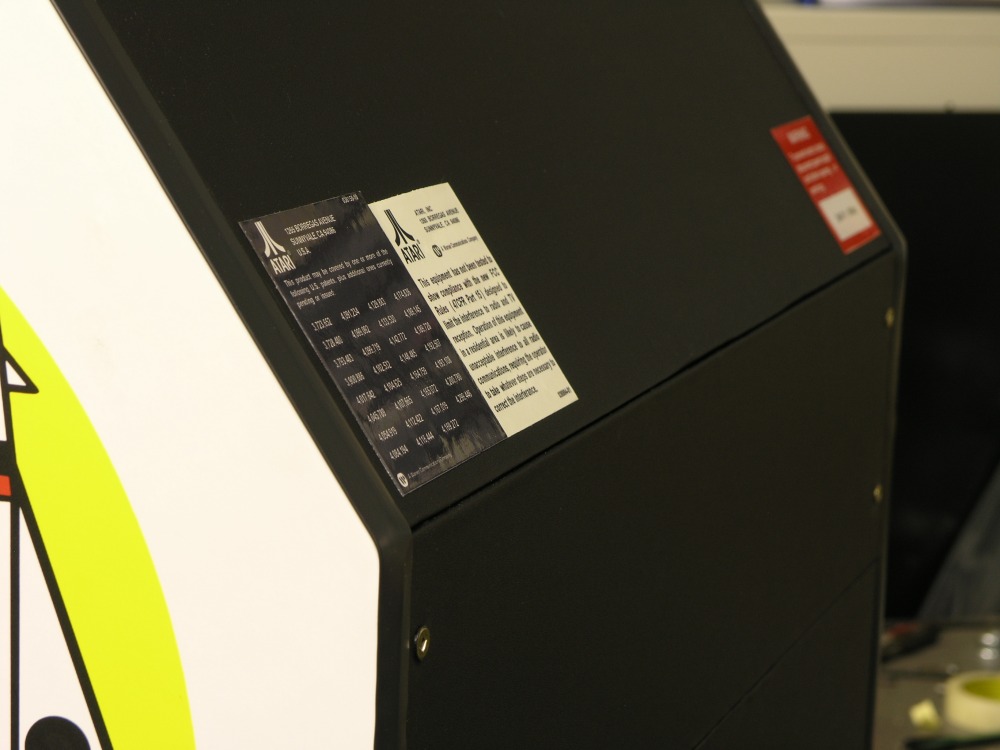
016 new rear labels and replacment textured vinyl wood
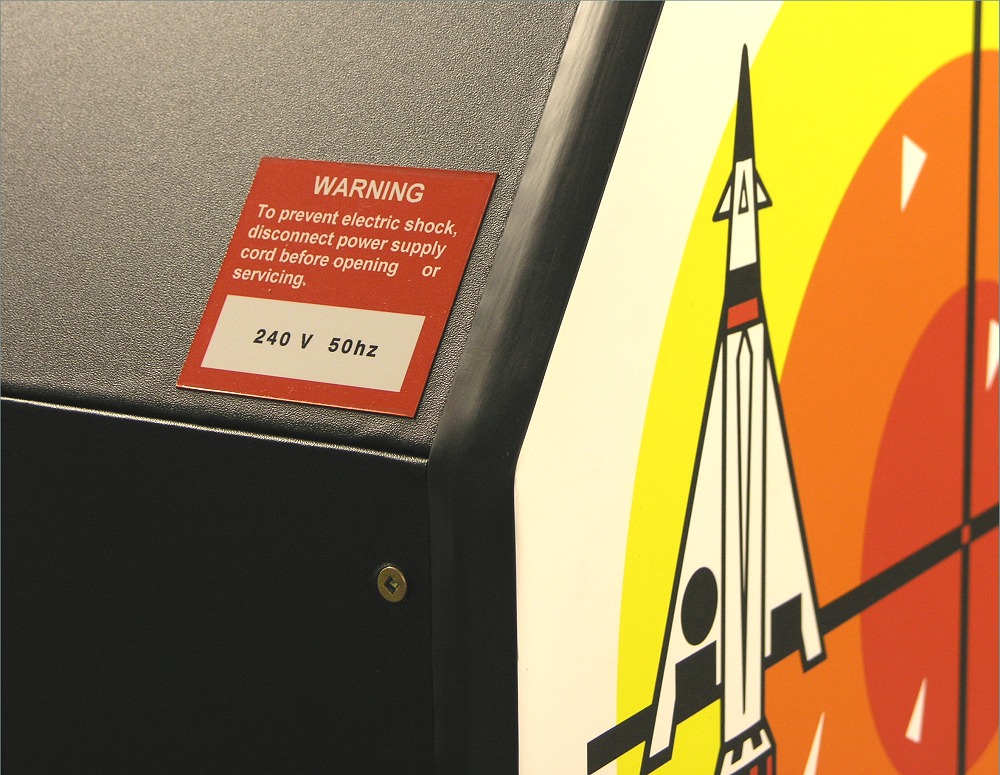
016B_new_labels.jpg
016B new labels
017_new_control_panel_metal_art_and_buttons.jpg
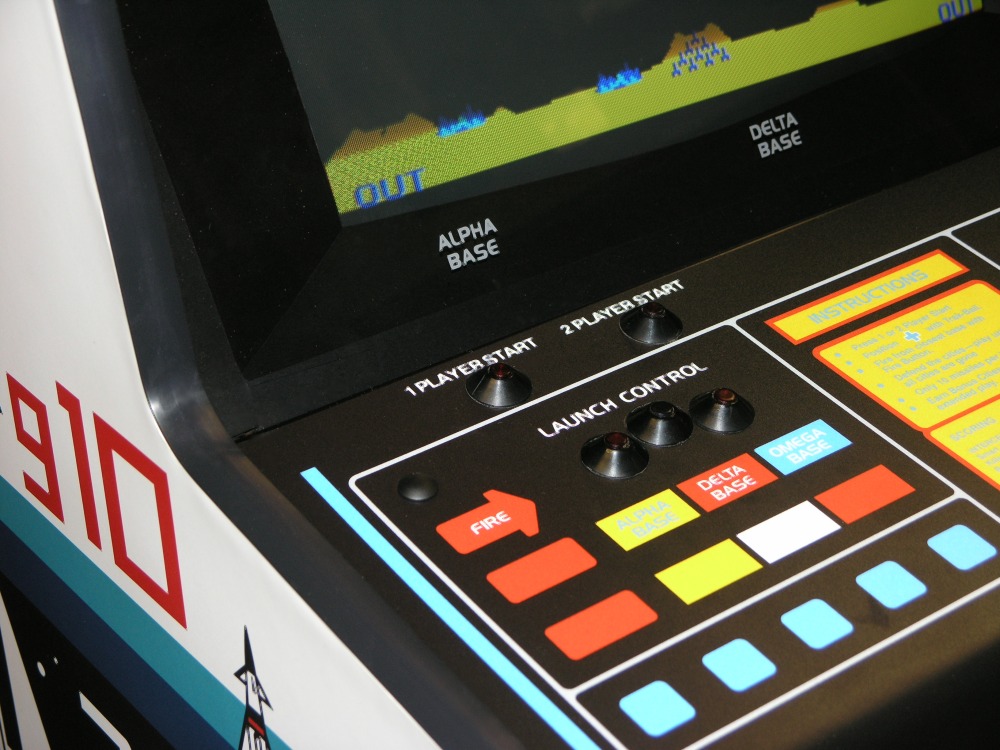
017 new control panel metal art and buttons
018_new_sides_in_all_their_glory.jpg
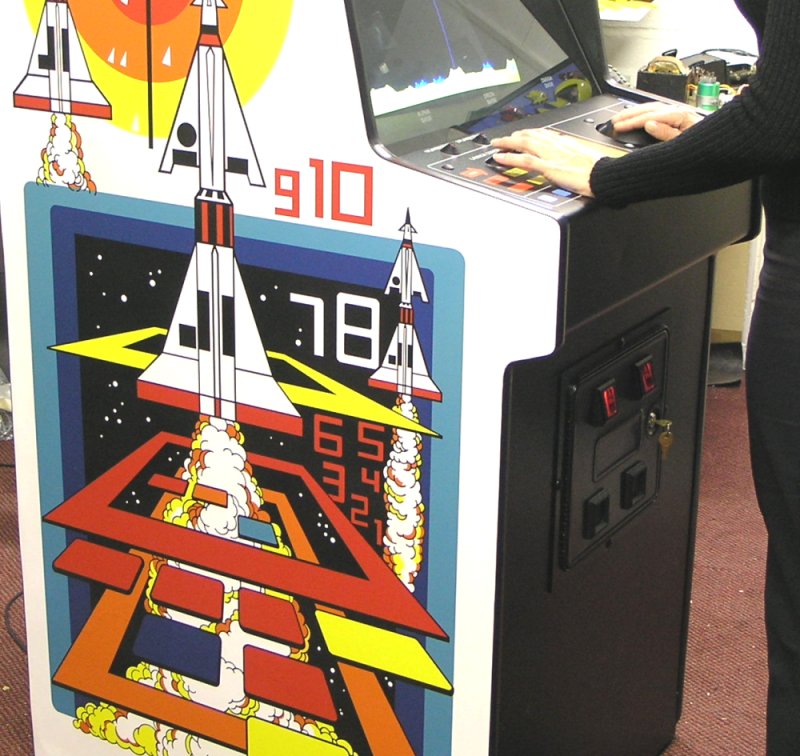
018 new sides in all their glory
019_all_up_and_running_nicely.jpg
019 all up and running nicely
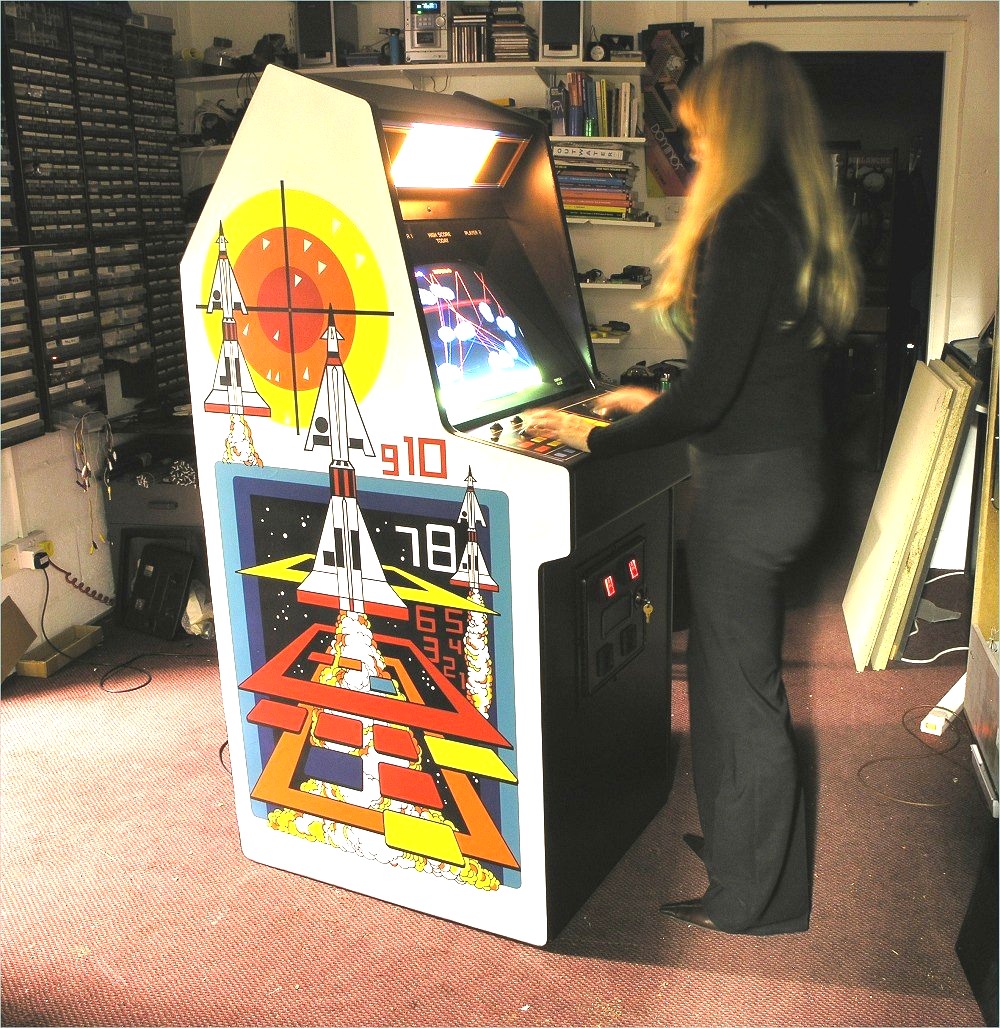
020_soak_testing.jpg
020 soak testing
Mini_SA_actual_experiment_2.jpg
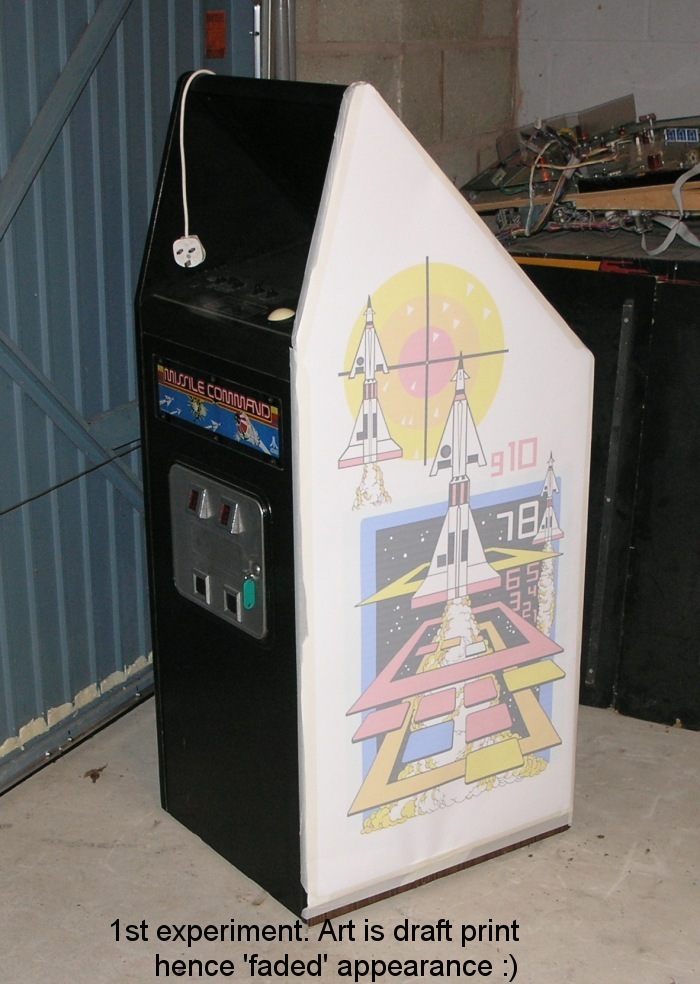
Mini SA actual experiment 2
Mini_SA_mockup.jpg
Mini SA mockup

last updated October 19, 2005