![01_Does_your_Gravitar_CPO_look_like_this.jpg](thumb/t_01_Does_your_Gravitar_CPO_look_like_this.jpg)
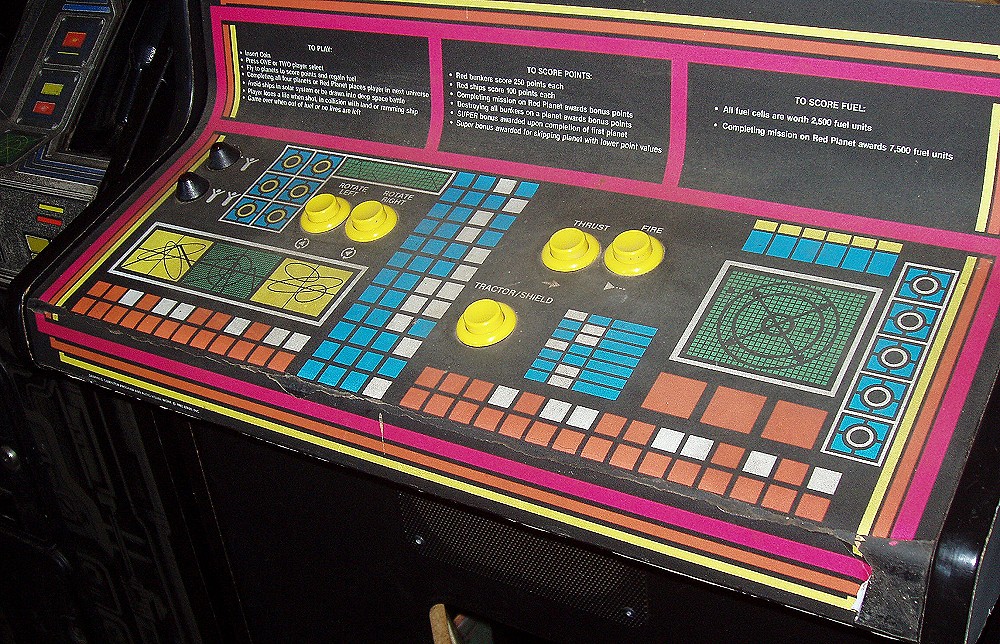
01 Does your Gravitar CPO look like this
2,480.13 Kb |
![02_not_much_left_of_it.jpg](thumb/t_02_not_much_left_of_it.jpg)
02 not much left of it
338.17 Kb |
![03_Number_the_switches_before_removal_to_save_time_later.jpg](thumb/t_03_Number_the_switches_before_removal_to_save_time_later.jpg)
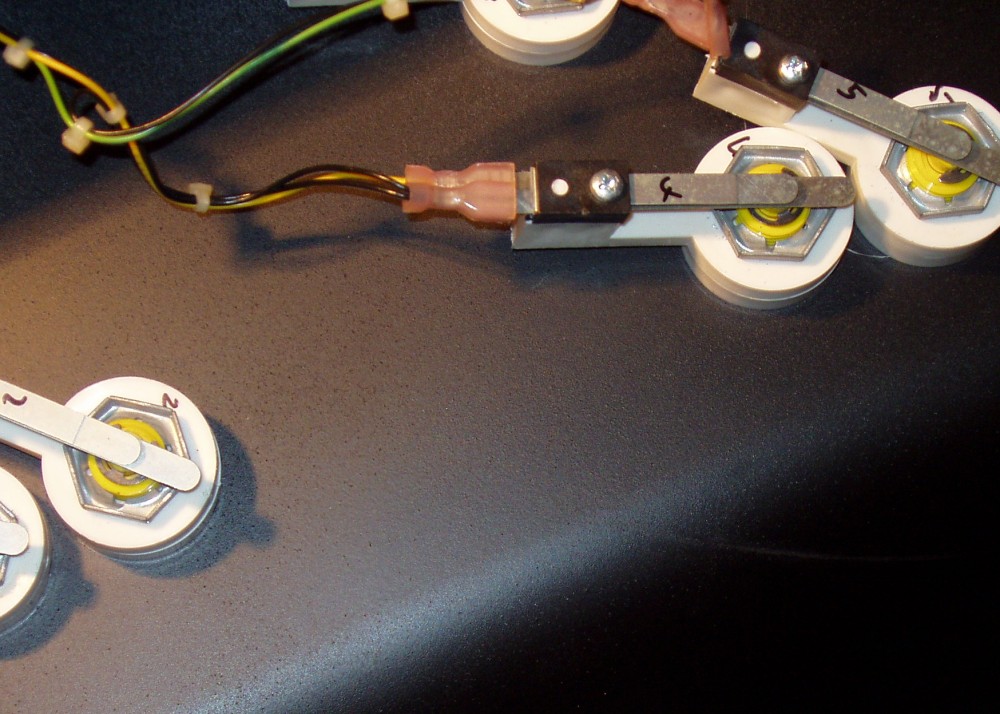
03 Number the switches before removal to save time later
169.74 Kb |
![04_Stripped_and_shot_blasted_CP.jpg](thumb/t_04_Stripped_and_shot_blasted_CP.jpg)
04 Stripped and shot blasted CP
182.13 Kb |
![05_CP_with_undercoat.jpg](thumb/t_05_CP_with_undercoat.jpg)
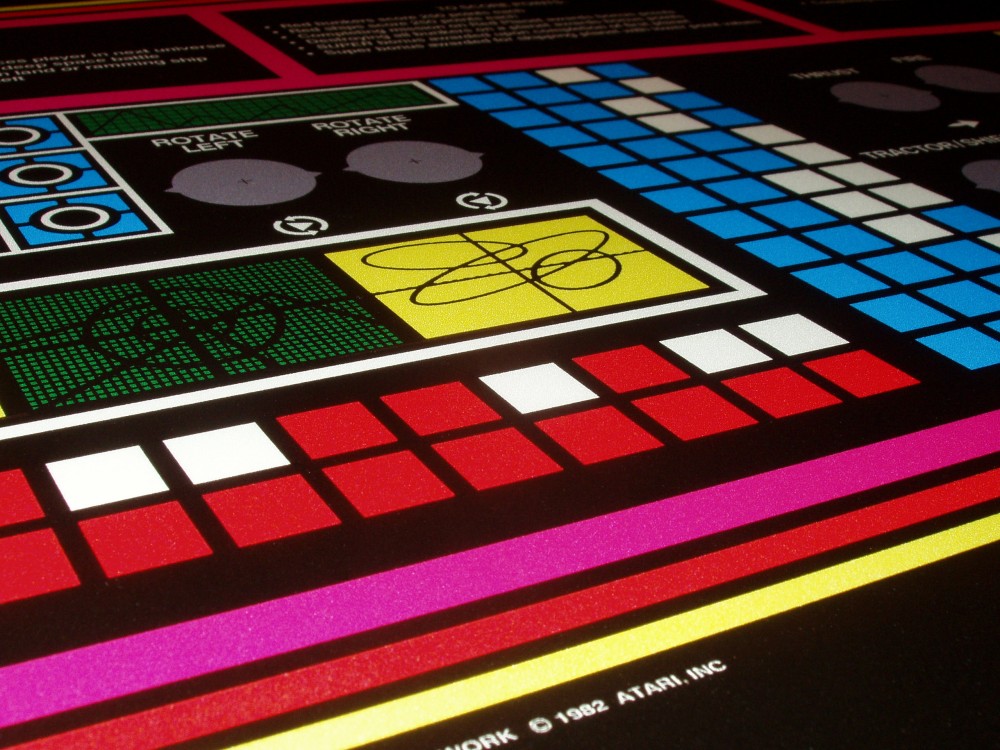
05 CP with undercoat
186.96 Kb |
![06_now_for_nice_new_Grav_CPO.jpg](thumb/t_06_now_for_nice_new_Grav_CPO.jpg)
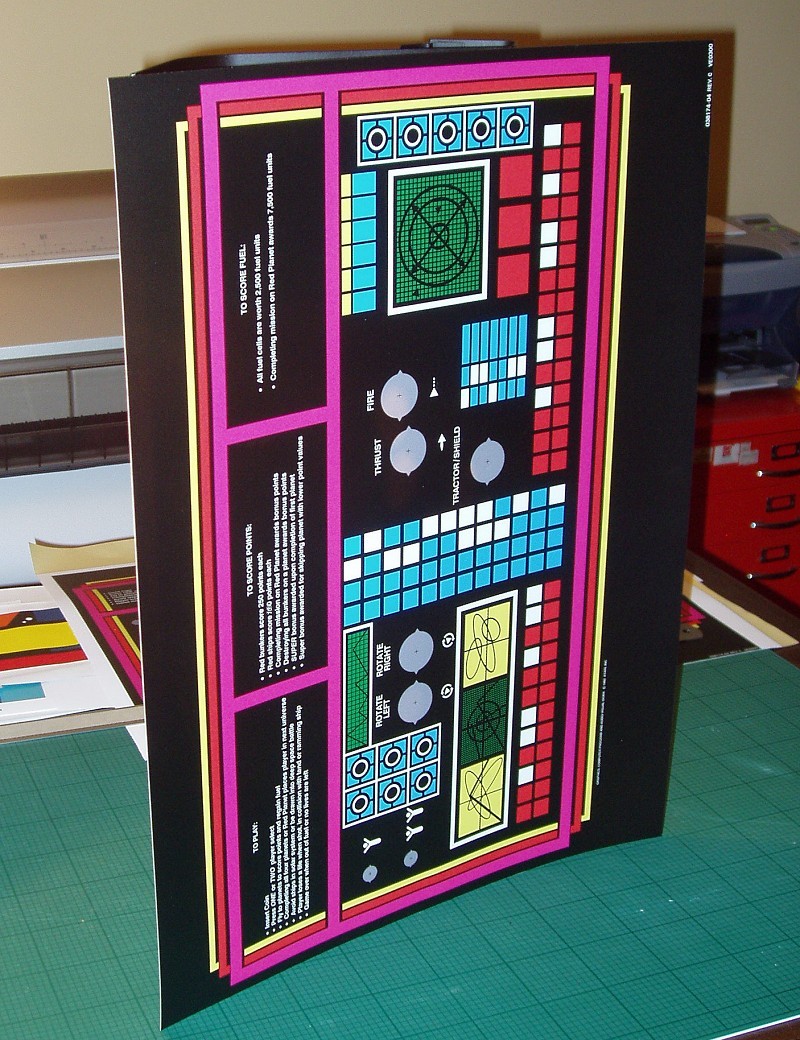
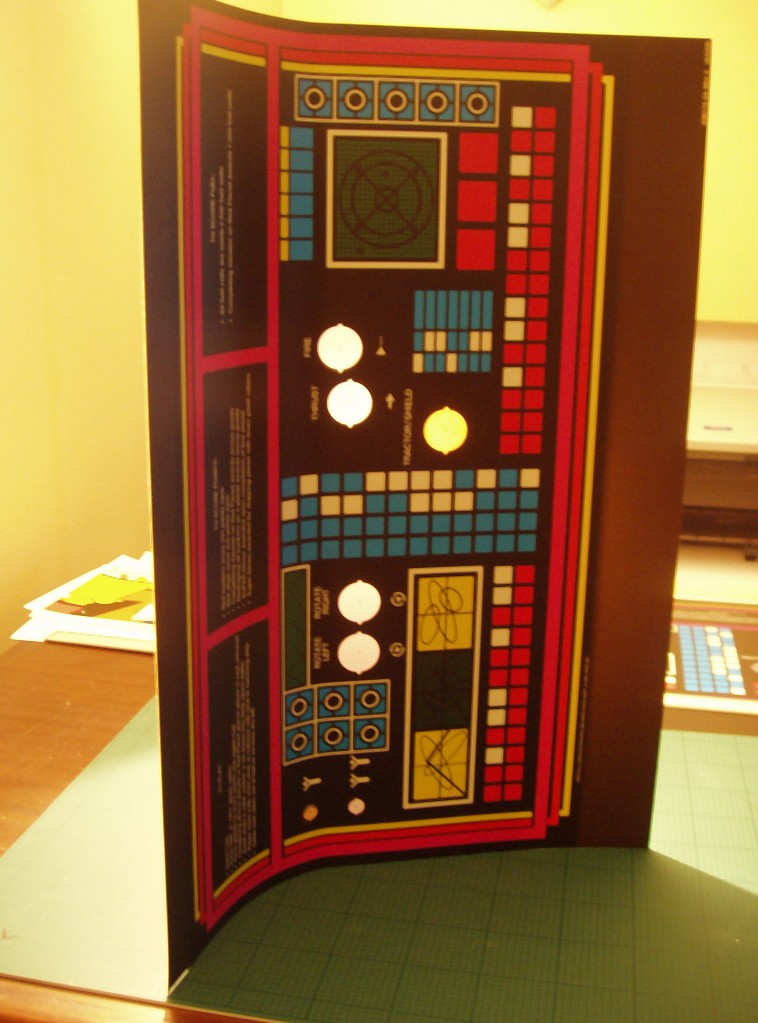
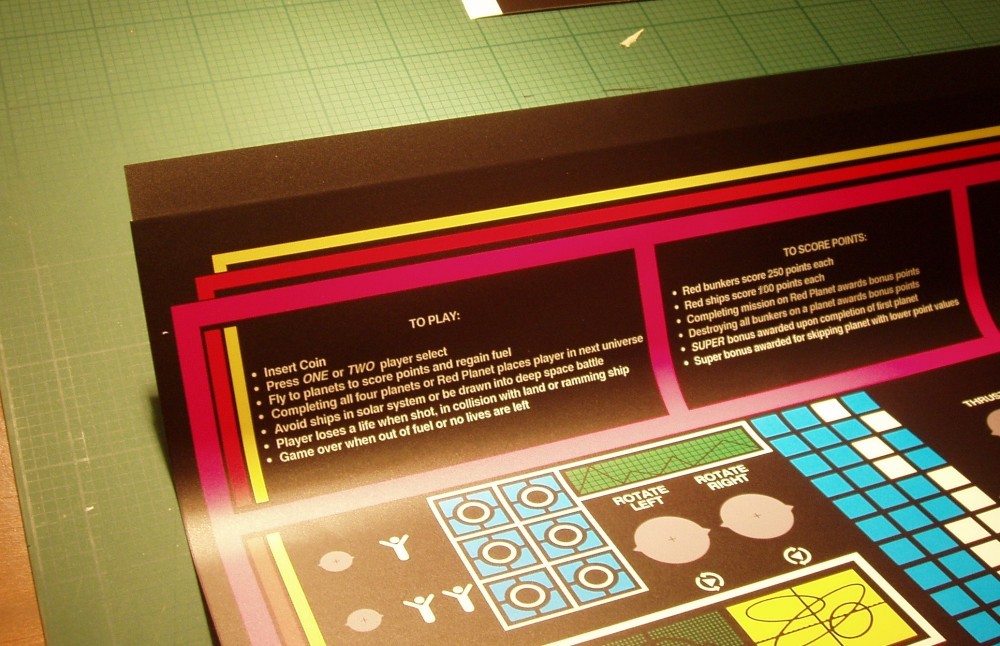
06 now for nice new Grav CPO
203.83 Kb |
![06a_CPO_close_up_1.jpg](thumb/t_06a_CPO_close_up_1.jpg)
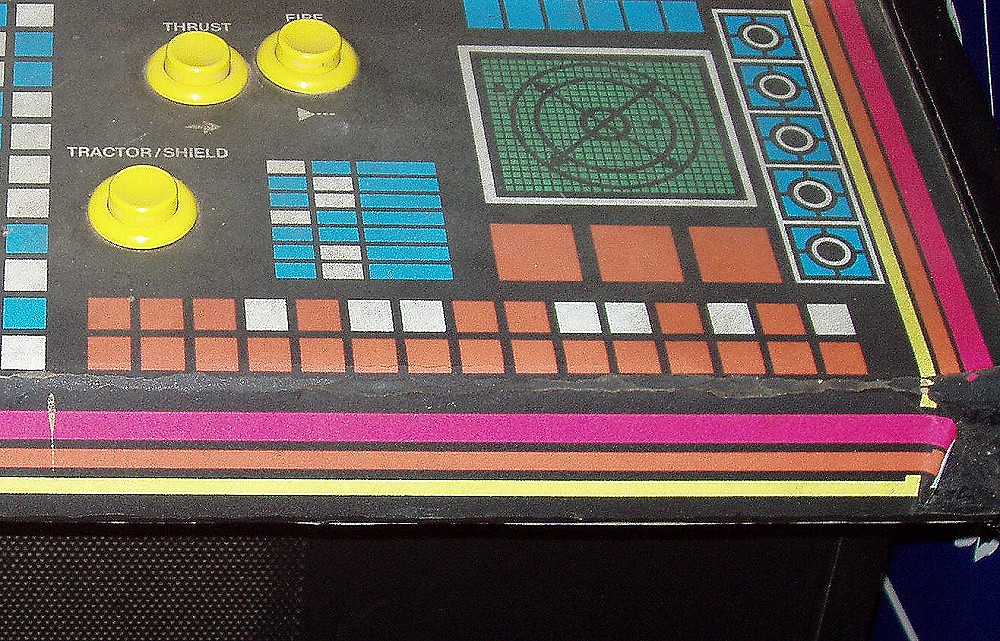
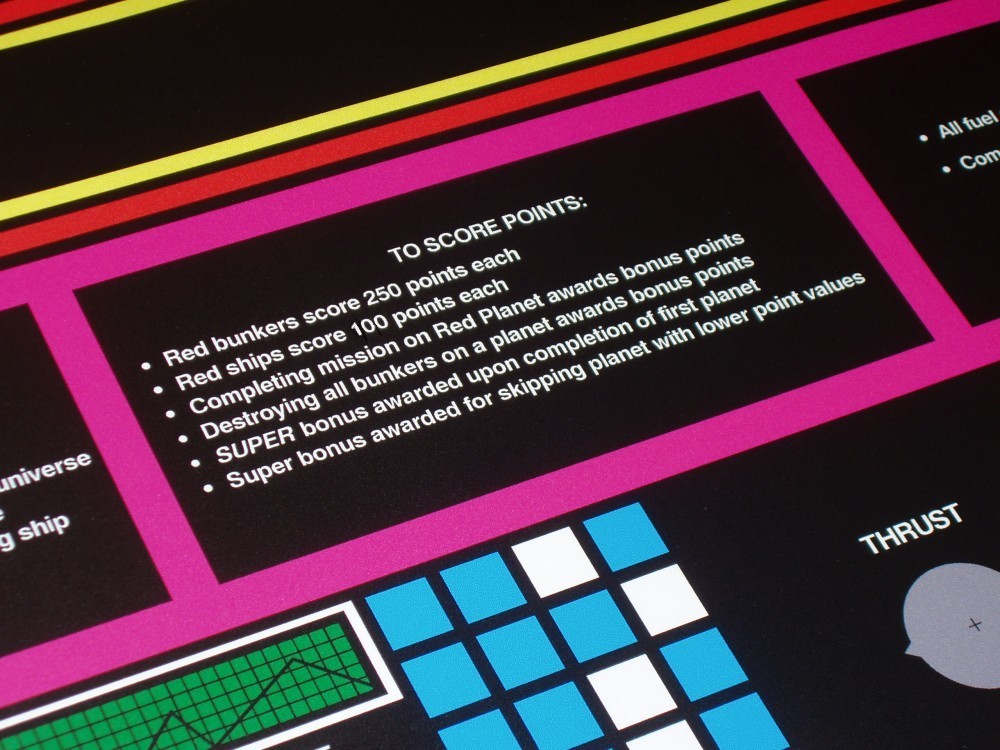
06a CPO close up 1
182.71 Kb |
![07_carefully_expose_a_bit_of_adhesive_around_buttons.jpg](thumb/t_07_carefully_expose_a_bit_of_adhesive_around_buttons.jpg)
07 carefully expose a bit of adhesive around buttons
85.36 Kb |
![08_stand_CP_and_CPO_on_common_edge_and_lightly_press_middle_strip_to_CP.jpg](thumb/t_08_stand_CP_and_CPO_on_common_edge_and_lightly_press_middle_strip_to_CP.jpg)
08 stand CP and CPO on common edge and lightly press middle strip to CP
270.84 Kb |
![09_CPO_peeled_back_to_show_strip_of_adhesive.jpg](thumb/t_09_CPO_peeled_back_to_show_strip_of_adhesive.jpg)
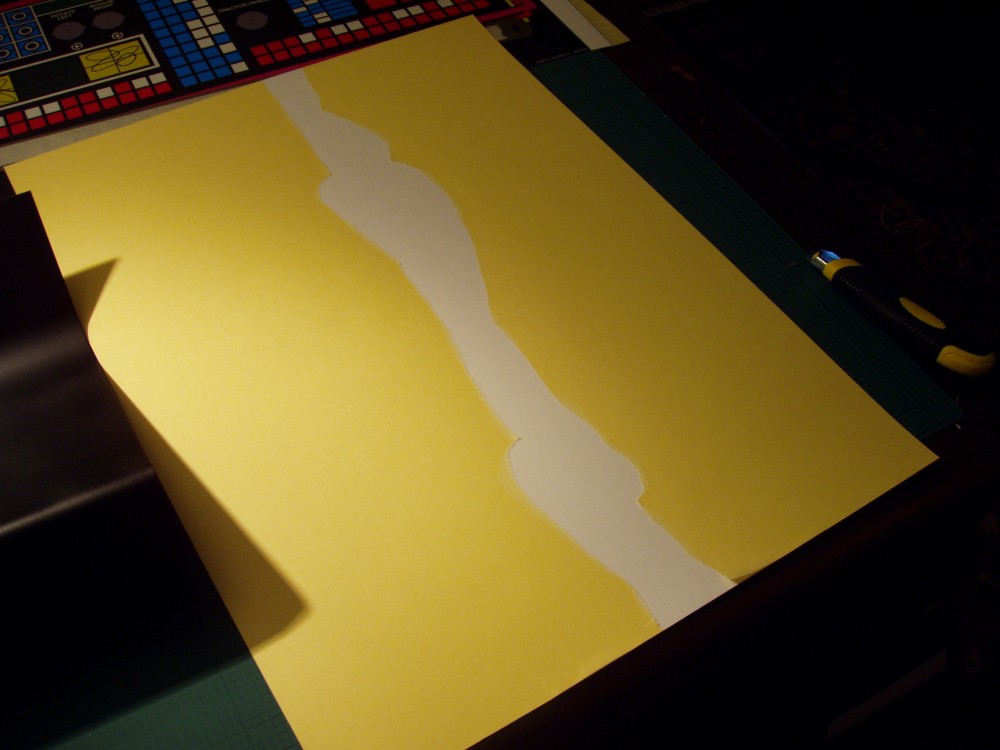
09 CPO peeled back to show strip of adhesive
177.24 Kb |
![10_use_horizontal_desk_light_to_check_holes_line_up.jpg](thumb/t_10_use_horizontal_desk_light_to_check_holes_line_up.jpg)
10 use horizontal desk light to check holes line up
142.29 Kb |
![11_smoothed_out_CPO_showing_top_edge_overlap_before_trimming.jpg](thumb/t_11_smoothed_out_CPO_showing_top_edge_overlap_before_trimming.jpg)
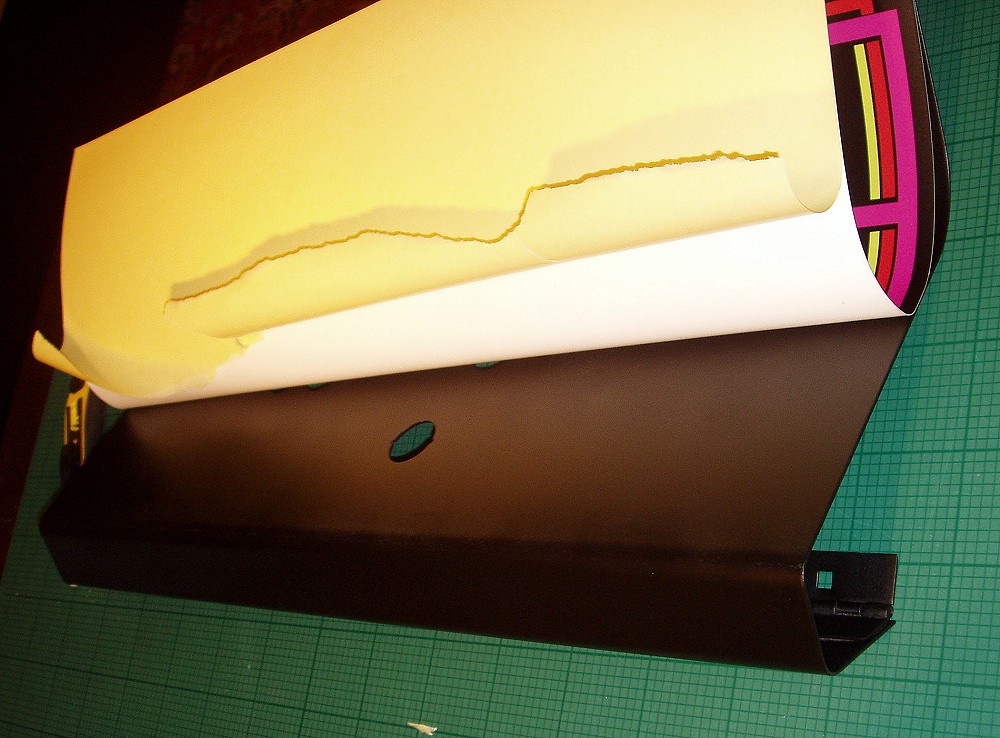
11 smoothed out CPO showing top edge overlap before trimming
178.72 Kb |
![12_now_trim_top_edge_with_sharp_blade_angled_INTO_CPO.jpg](thumb/t_12_now_trim_top_edge_with_sharp_blade_angled_INTO_CPO.jpg)
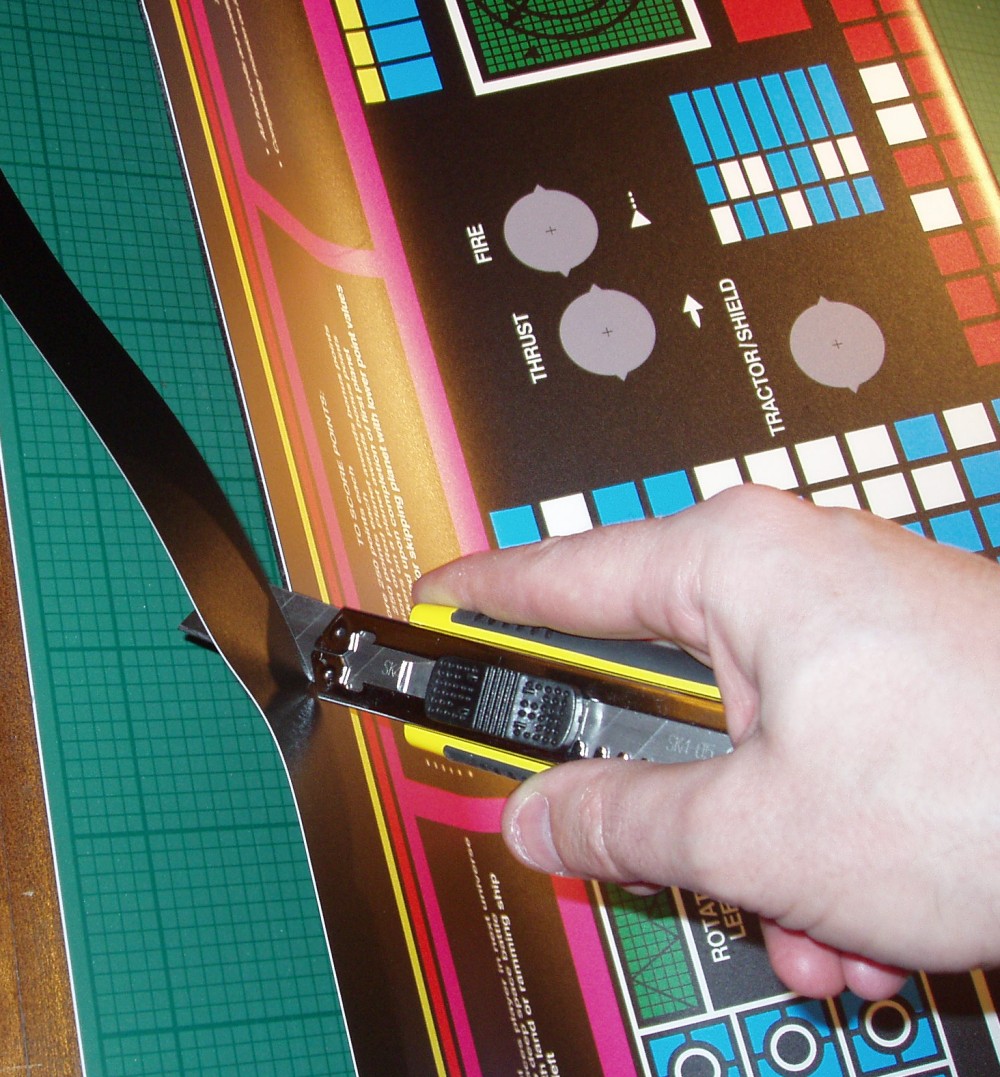
12 now trim top edge with sharp blade angled INTO CPO
278.81 Kb |
![13_CPO_top_edge_after_trimming_shows_white_up.jpg](thumb/t_13_CPO_top_edge_after_trimming_shows_white_up.jpg)
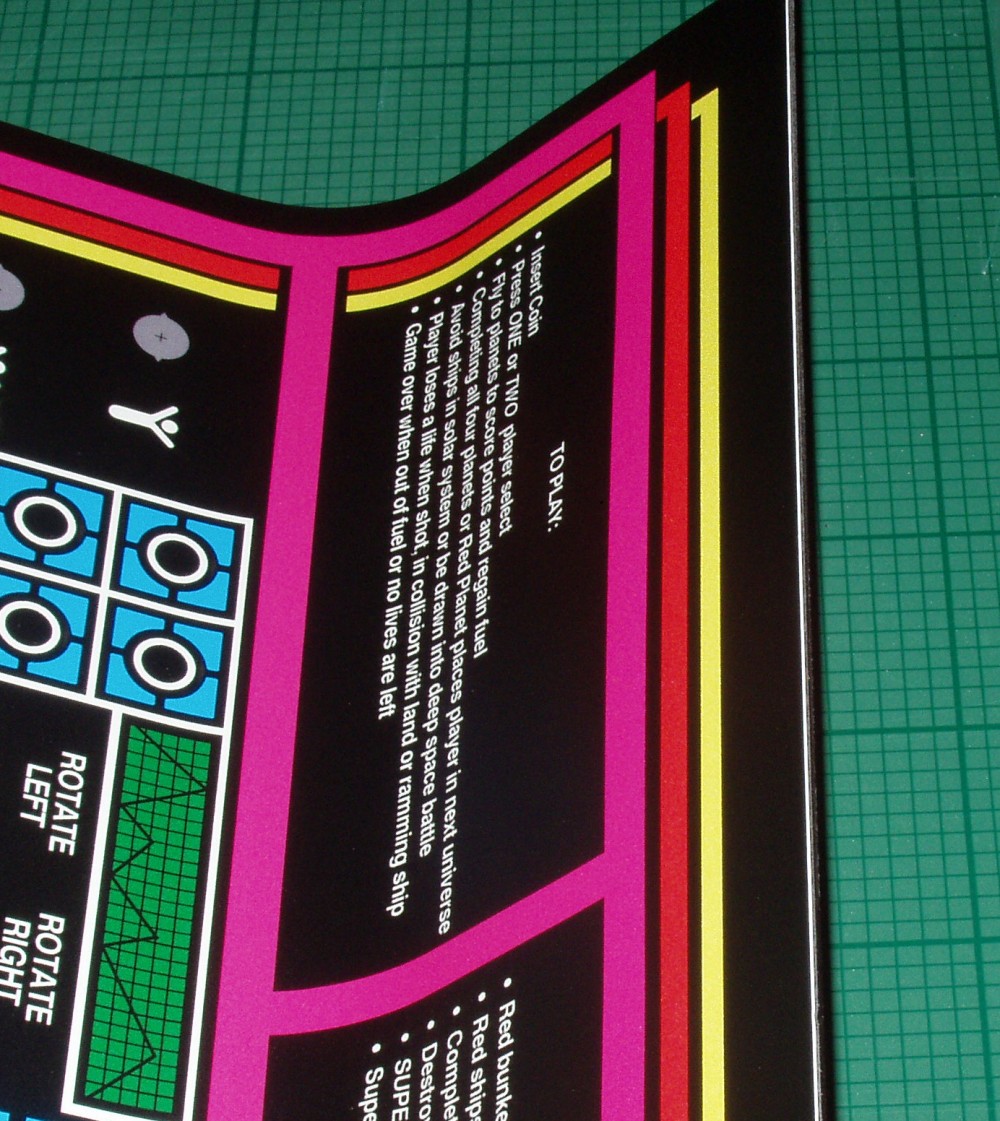
13 CPO top edge after trimming shows white up
292.29 Kb |
![14_Now_run_black_sharpie_along_CPO_edge_AWAY_from_image_side_to_avoid_mishaps.jpg](thumb/t_14_Now_run_black_sharpie_along_CPO_edge_AWAY_from_image_side_to_avoid_mishaps.jpg)
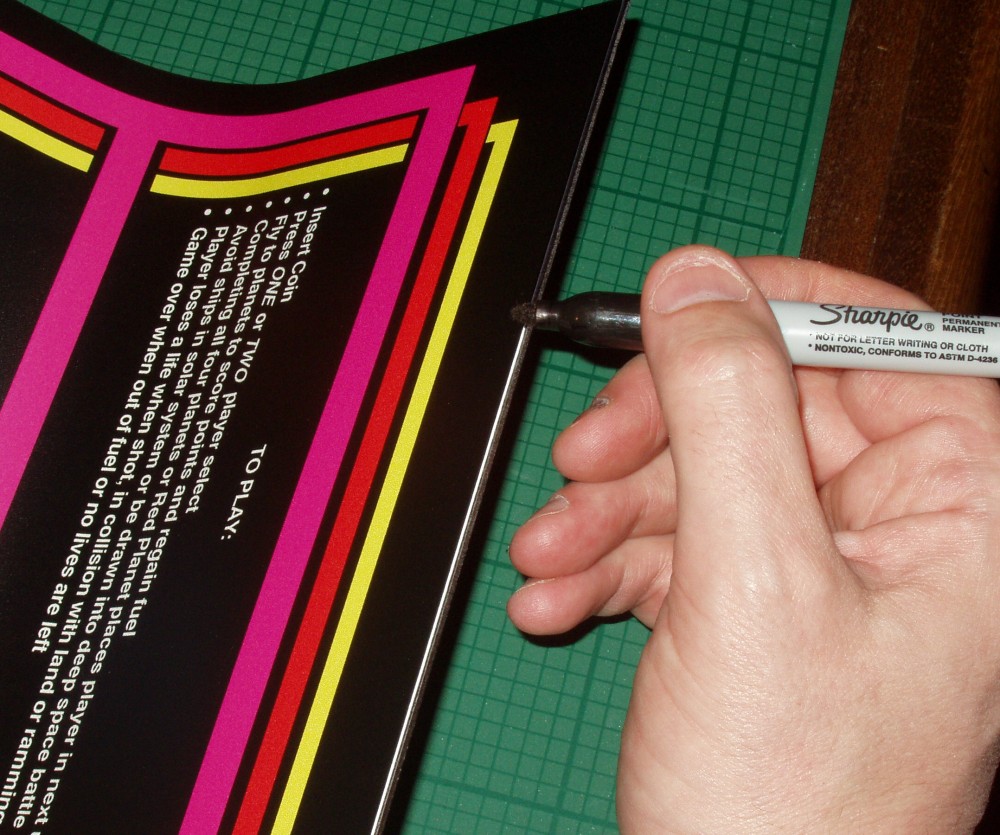
14 Now run black sharpie along CPO edge AWAY from image side to avoid mishaps
212.83 Kb |
![15_buttons_and_loom_ready.jpg](thumb/t_15_buttons_and_loom_ready.jpg)
15 buttons and loom ready
222.88 Kb |
![16_Using_scalple_blade_cut_out_buttons_holes_according_to_your_specific_CP.jpg](thumb/t_16_Using_scalple_blade_cut_out_buttons_holes_according_to_your_specific_CP.jpg)
16 Using scalple blade cut out buttons holes according to your specific
CP
235.53 Kb |
![17_Buttons_and_holes_have_small_alignment_notches.jpg](thumb/t_17_Buttons_and_holes_have_small_alignment_notches.jpg)
17 Buttons and holes have small alignment notches
178.55 Kb |
![18_The_final_result_1.jpg](thumb/t_18_The_final_result_1.jpg)
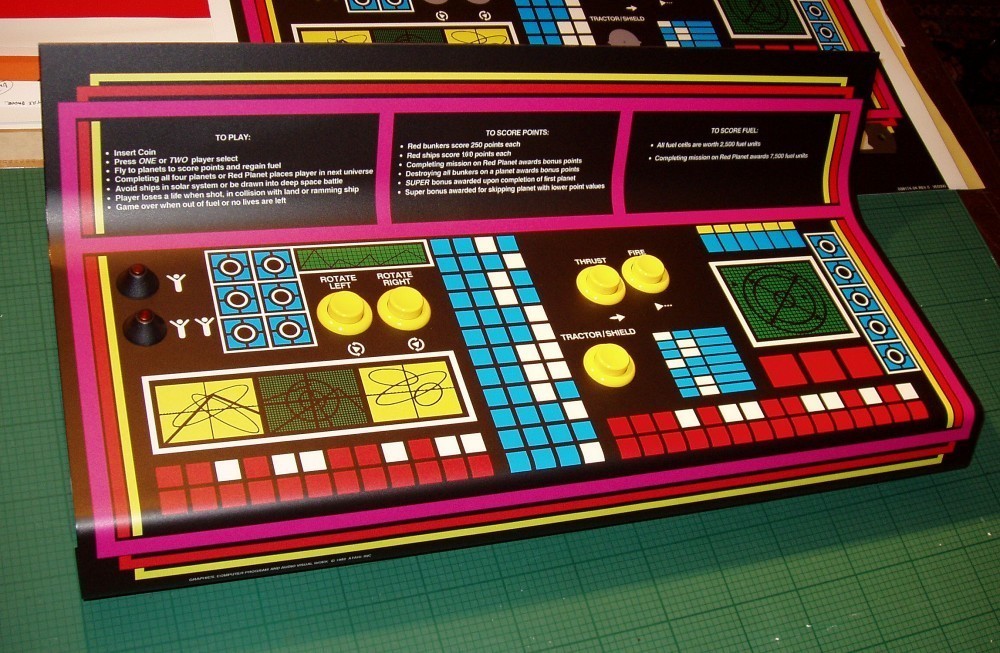
18 The final result 1
220.29 Kb |