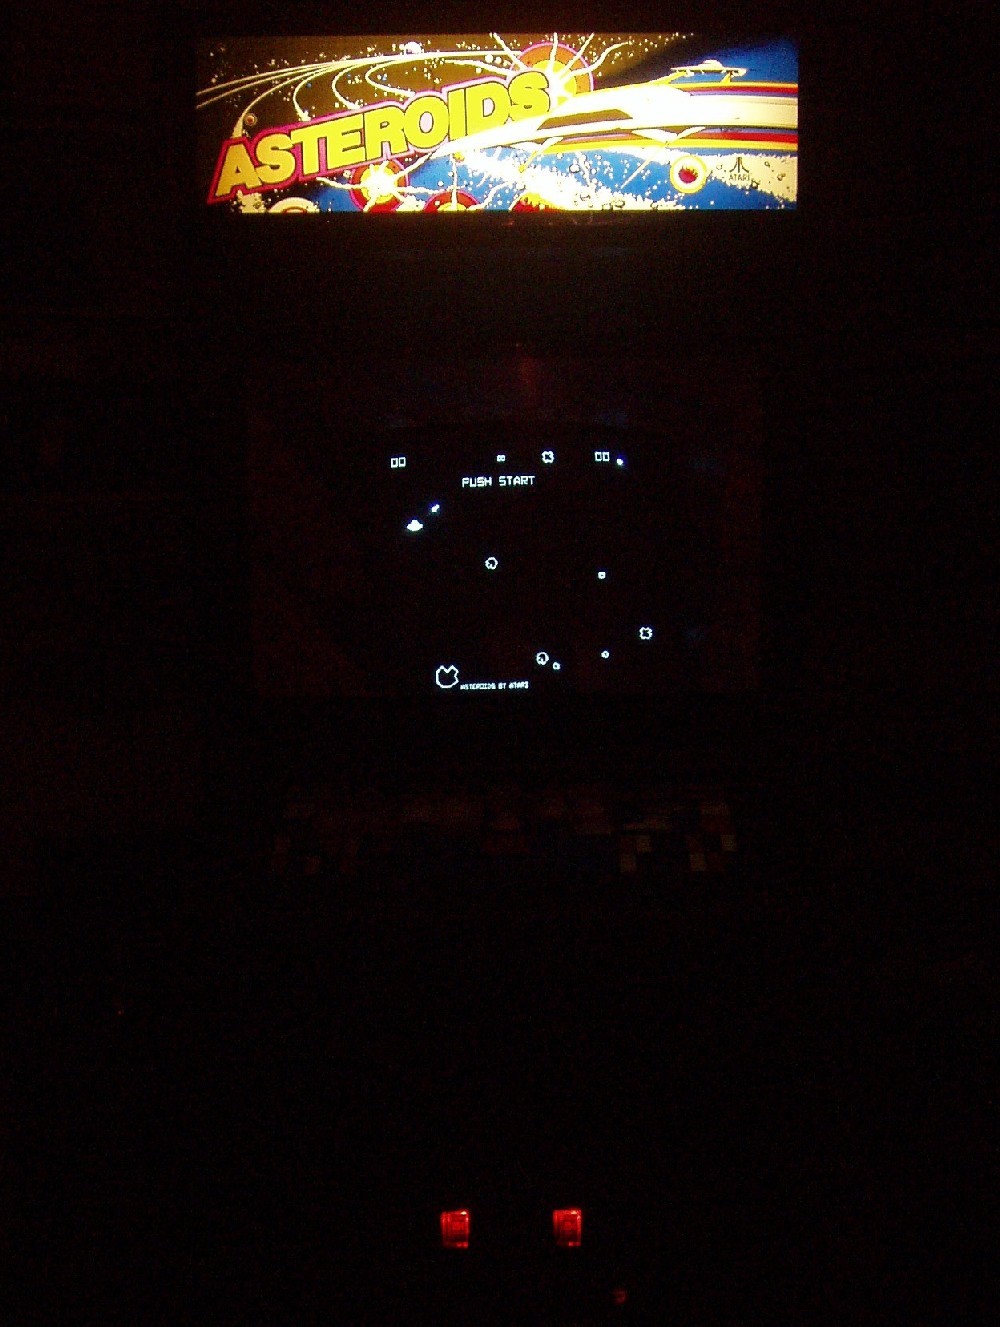
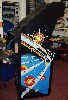
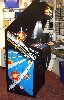
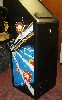
Asteroids Restoration
by Archer Maclean
Here is a new set of restoration pics of an early Asteroids
that I partially restored at Christmas for a friend of mine who commissioned
it.
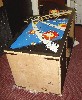
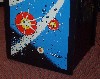
His Asteroids was sitting in a dry garage for years and looking
a bit rough round the edges, but wasn’t too bad as I've seen basket cases
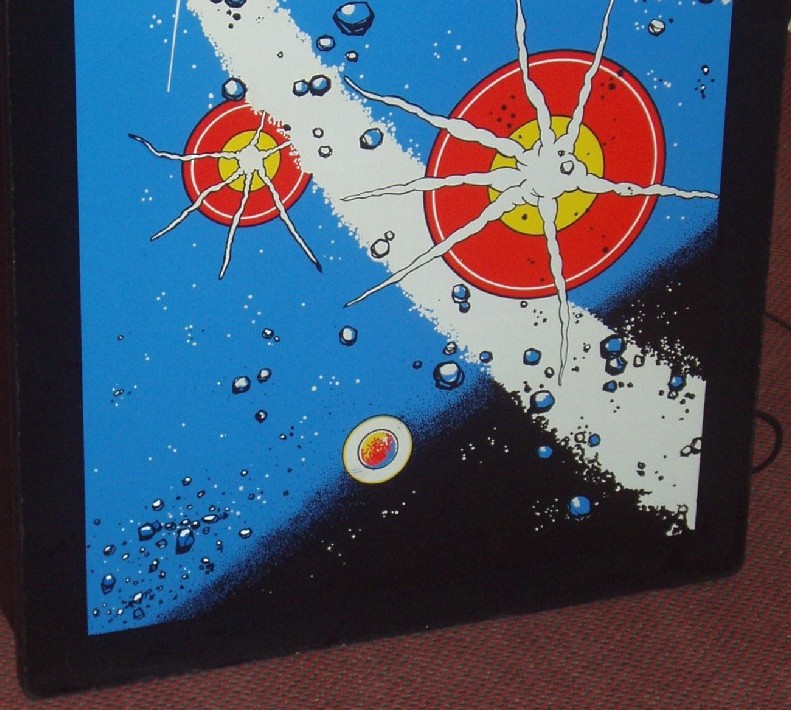
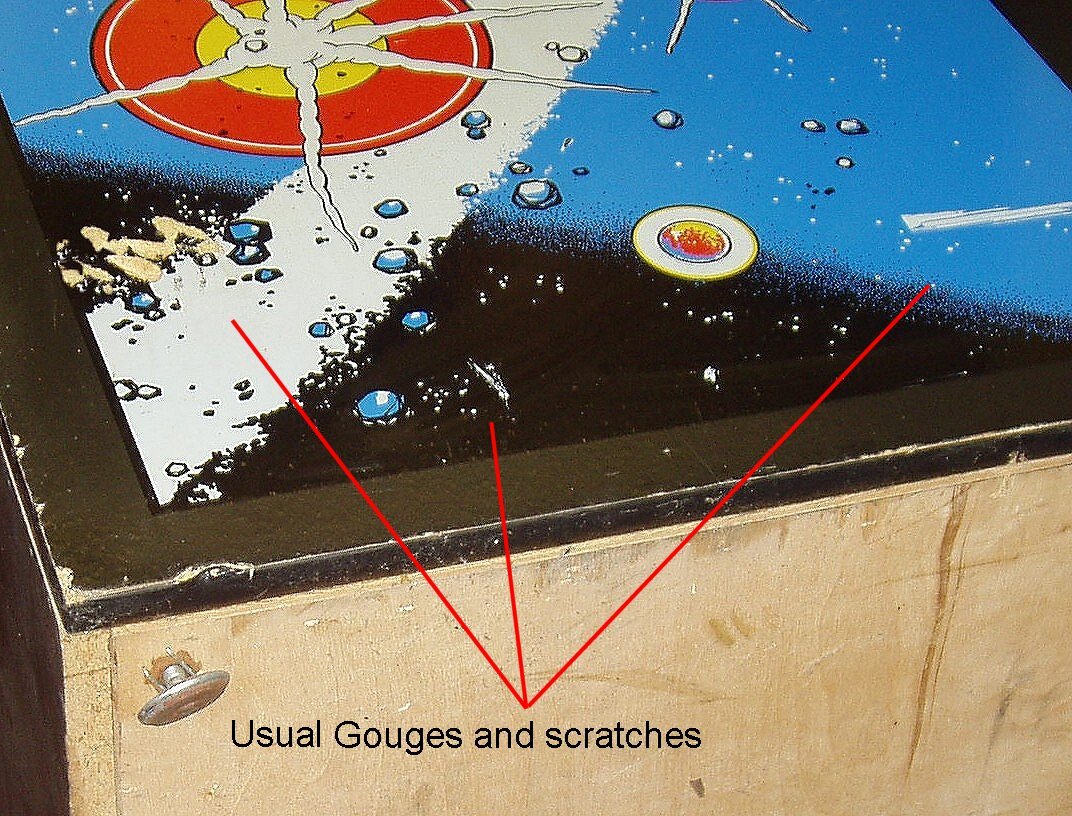
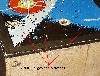
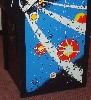
much worse than this. Main problem was some deep wood gouges on the lower left
side, right in the middle of the side art and plenty of scratches. But I didn’t
want to apply full side art as the first set I got through would have looked
worse in my opinion ( I am now doing my own with far better colours and sharper
edges and in UV inks etc). I did some very selective filling and repainting
by hand of various areas using paints that were closely matched to original.
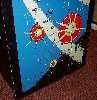
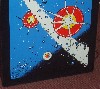
I had to disguise the scratched areas with new rocks and so on - check the images
for subtle 'mods' !
The lamination on the first CPO came up real bad on the bends,
and on the CP carriage bolt holes. It basically separated really easily and
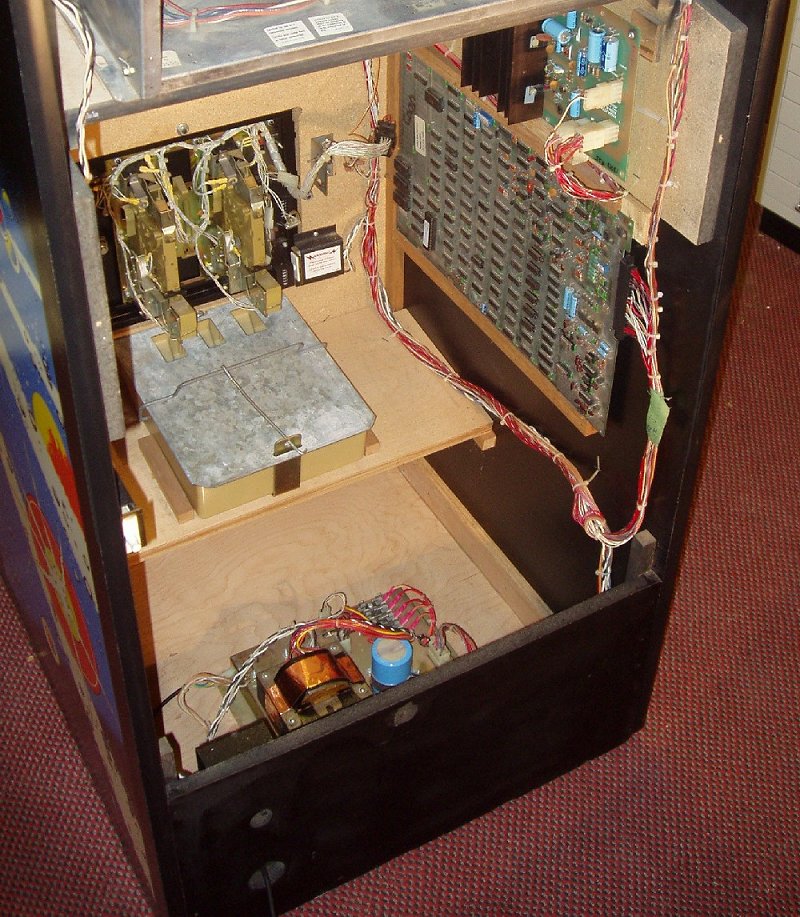
I had to use another one (which I also do . . ). The electronics was fairly
straightforward to fix, with a blown sound amp, knackered 566 which makes some
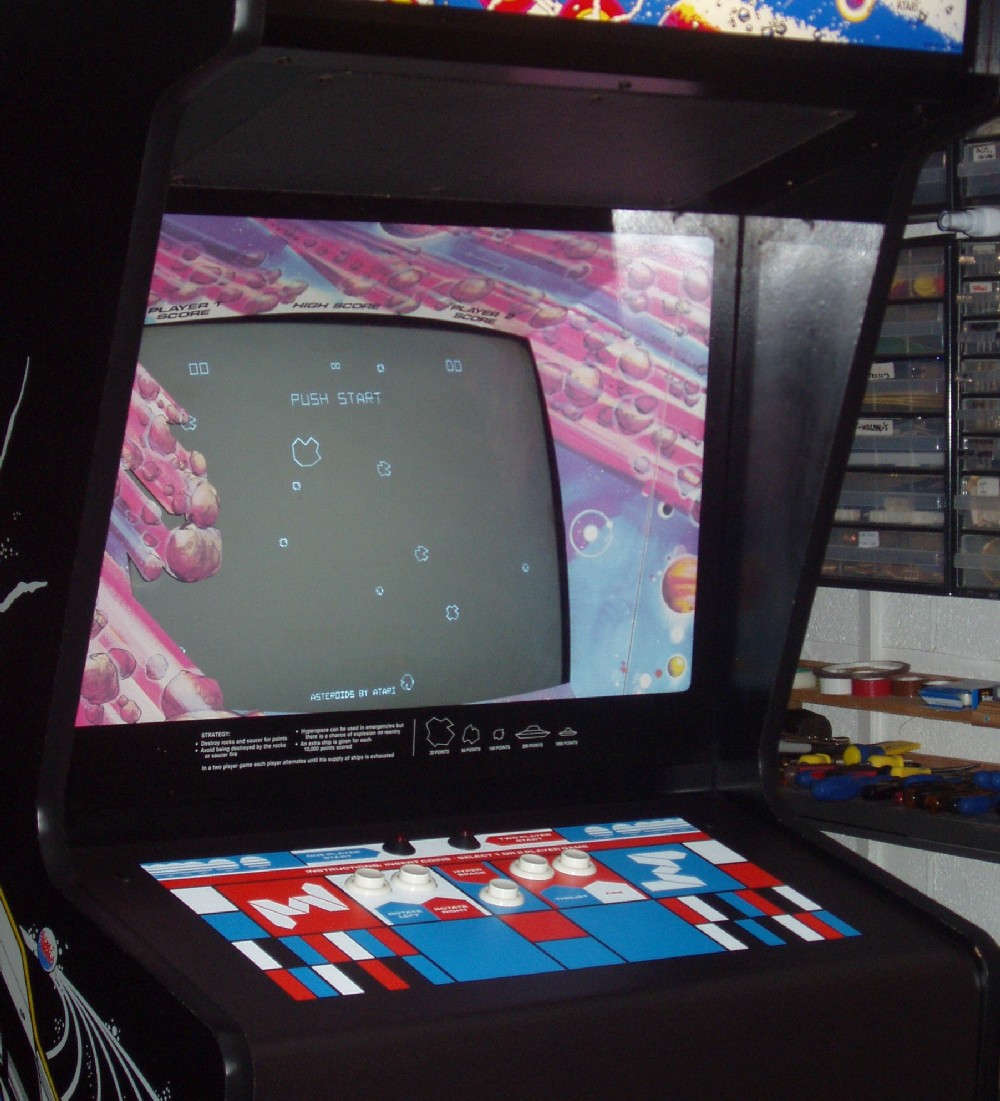
of the noises, and a cracked crystal. The monitor had a few fuses gone, and
I replaced some of the bigger electrolytics, and hey it worked too ! Turns out
the ROM set is a Mk1 original complete with the hiding behind the Atari bug
:)
I wouldn’t say this was as 'extreme' as my Black
Widow restoration, but none the less it was a good few days of mucking about
and I am pleased with the outcome.
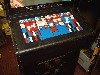
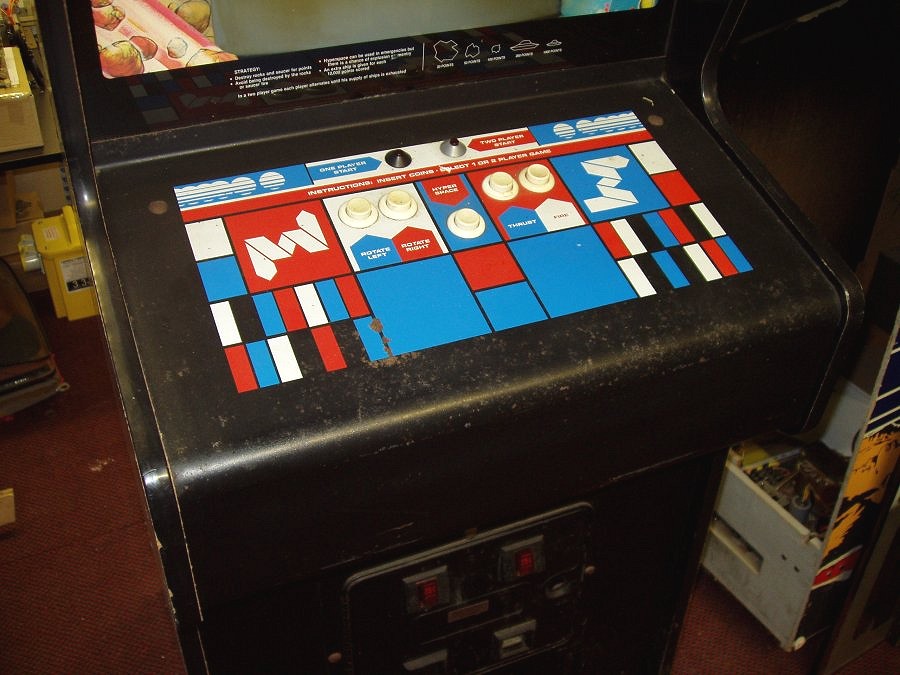
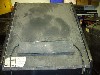
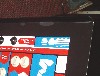
01 asteroids control panel before
128.41 Kb |
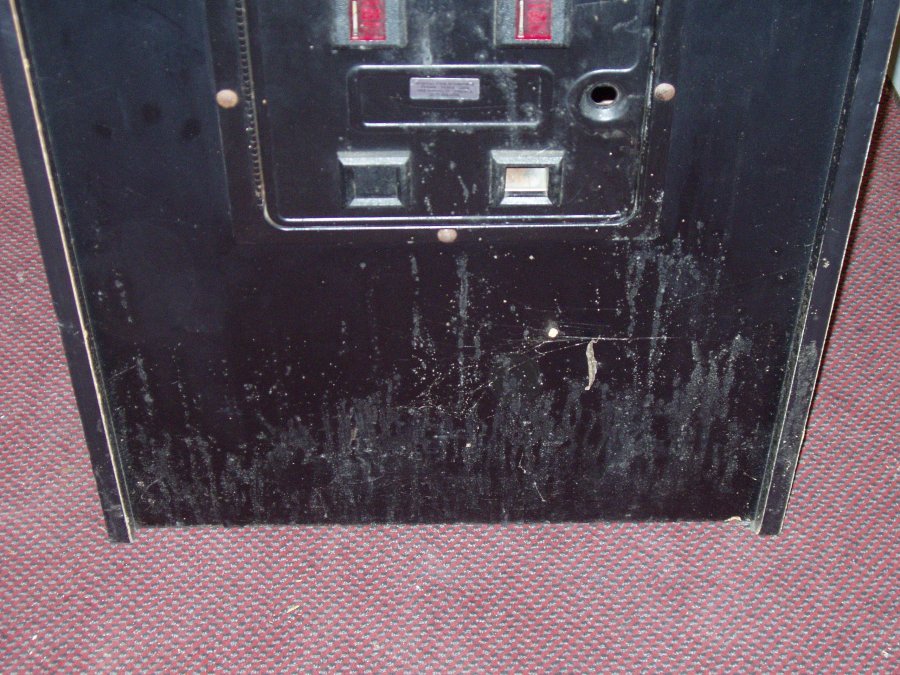
02 Asteroids back before
168.54 Kb |
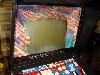
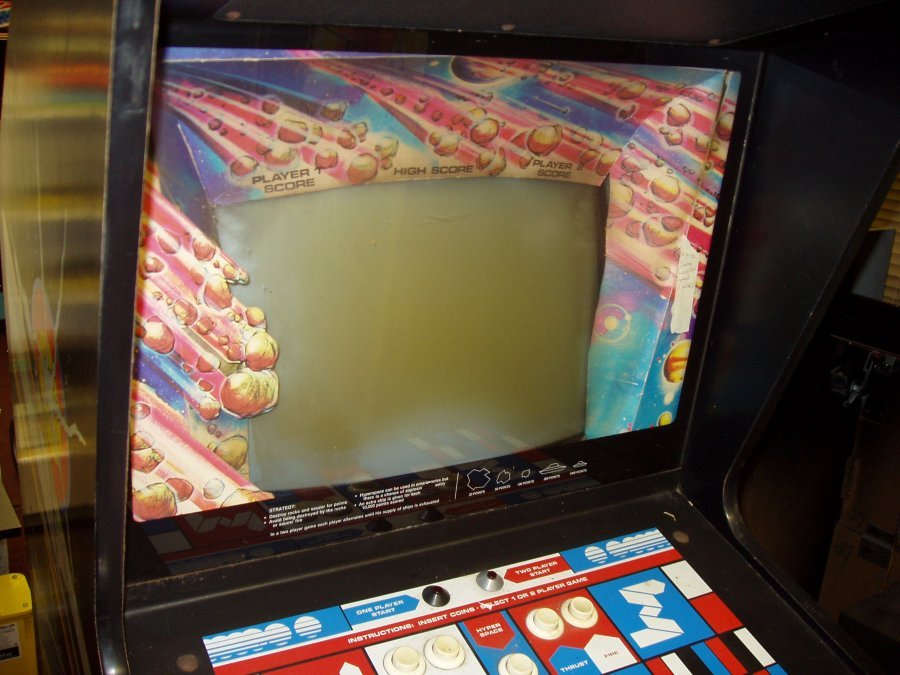
03 asteroids screen before
105.73 Kb |
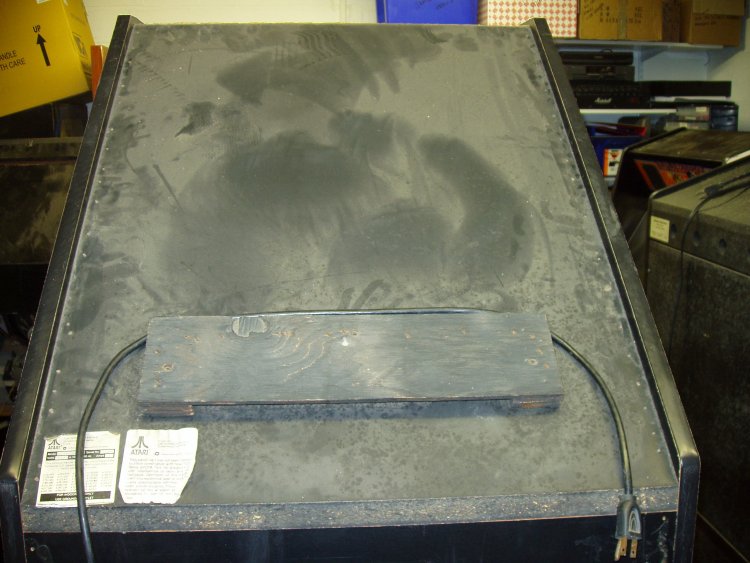
04 asteroids top before
75.18 Kb |
05 upper left side not tooo bad before
188.41 Kb |

06 lower front complete with mold before
159.02 Kb |
07 asteroids strip begin right mess
256.15 Kb |
08 back partially stripped messy
212.48 Kb |

09 sanded hoovered
227.99 Kb |
10 lower right side before
165.87 Kb |
11 rounded steel strips take corner weight
149.62 Kb |
12 lower right side restored
143.58 Kb |
13 big gouges and scratches lower left
284.87 Kb |

14 lower left side in prep
105.99 Kb |
15 B left side 75% there
164.94 Kb |

15 C left side result
192.31 Kb |

15 D left side result 2
188.75 Kb |

15 E left side scratch result 1
212.59 Kb |

15 F asteroids outside for paint reasons
154.12 Kb |

15 F painting outside as fumes too much
168.39 Kb |
15 lower left side Repaired
203.43 Kb |

15a result of back n top spray
141.62 Kb |

16 Ast CP wiring before
252.76 Kb |

16A bent coin door no mechs
134.22 Kb |
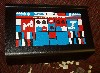
17 new sets of buttons and switches
212.31 Kb |
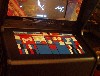
18 final control panel surface
198.02 Kb |
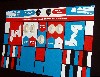
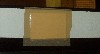
19 lamination problems with USA CPO
148.47 Kb |

22 old and new surrounds
166.78 Kb |
23 reverse patch to cover scratched letters
87.56 Kb |
24 patched area ON REENTRY looking better
75.21 Kb |
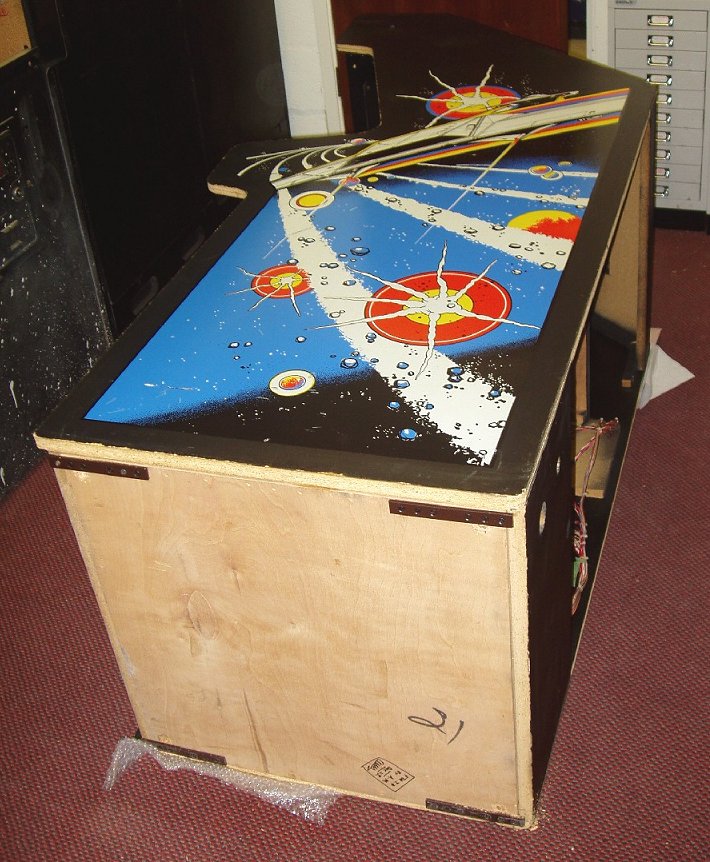
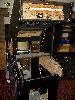
25 first finished front
221.51 Kb |

27 finished front and coin door new locks
49.29 Kb |
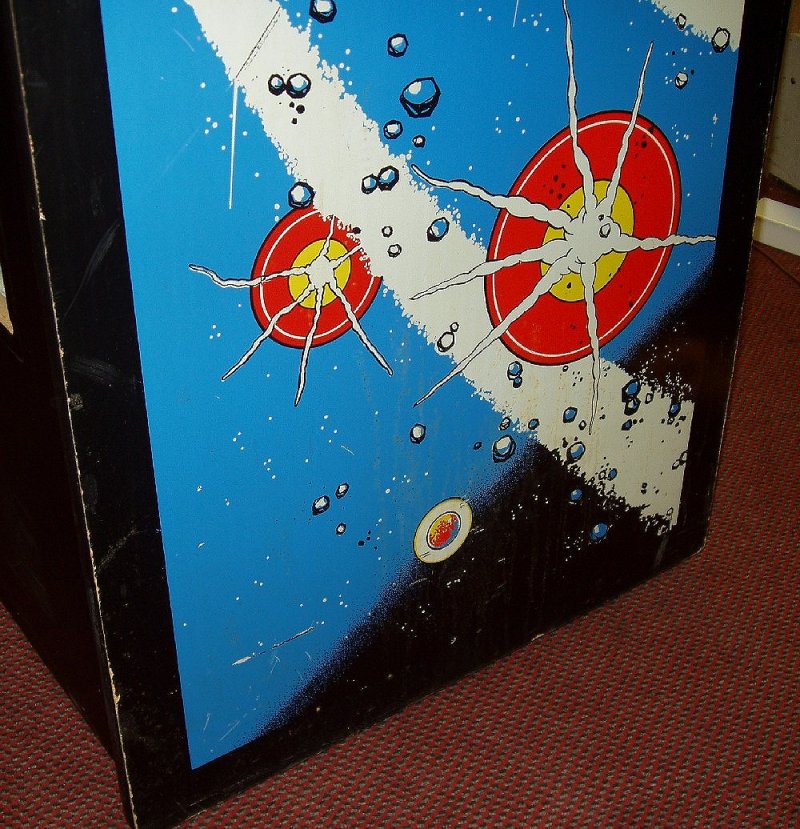
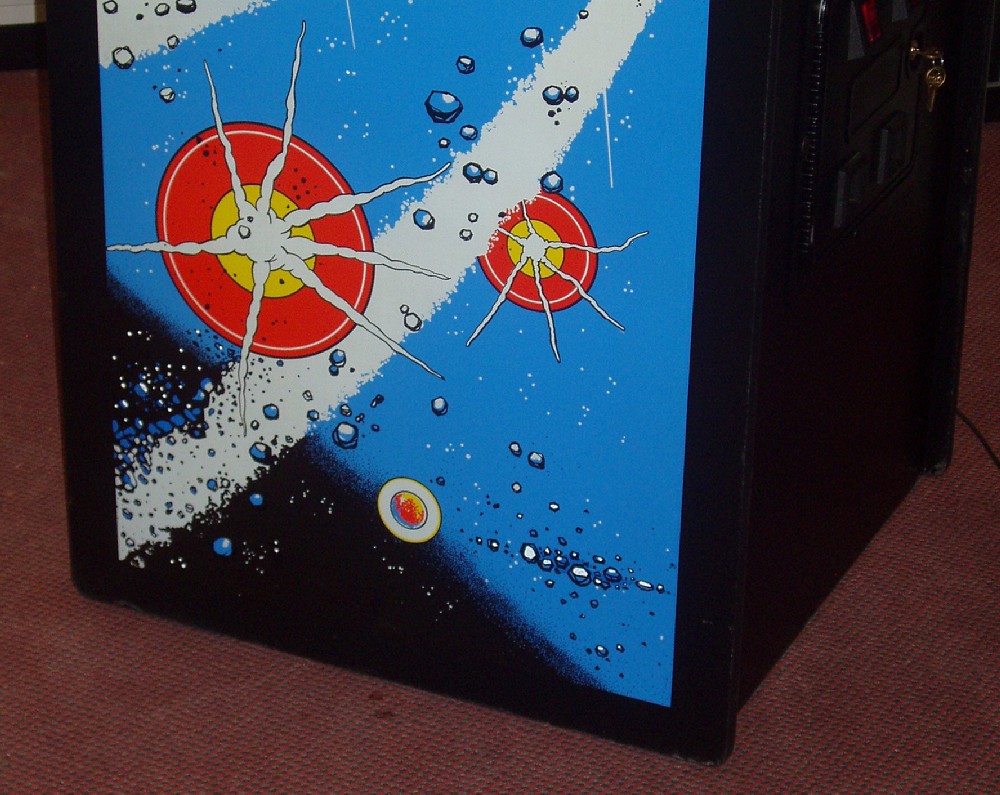
28 left side finished
200.92 Kb |
31 right side lower finished
275.29 Kb |
32 back after
173.12 Kb |

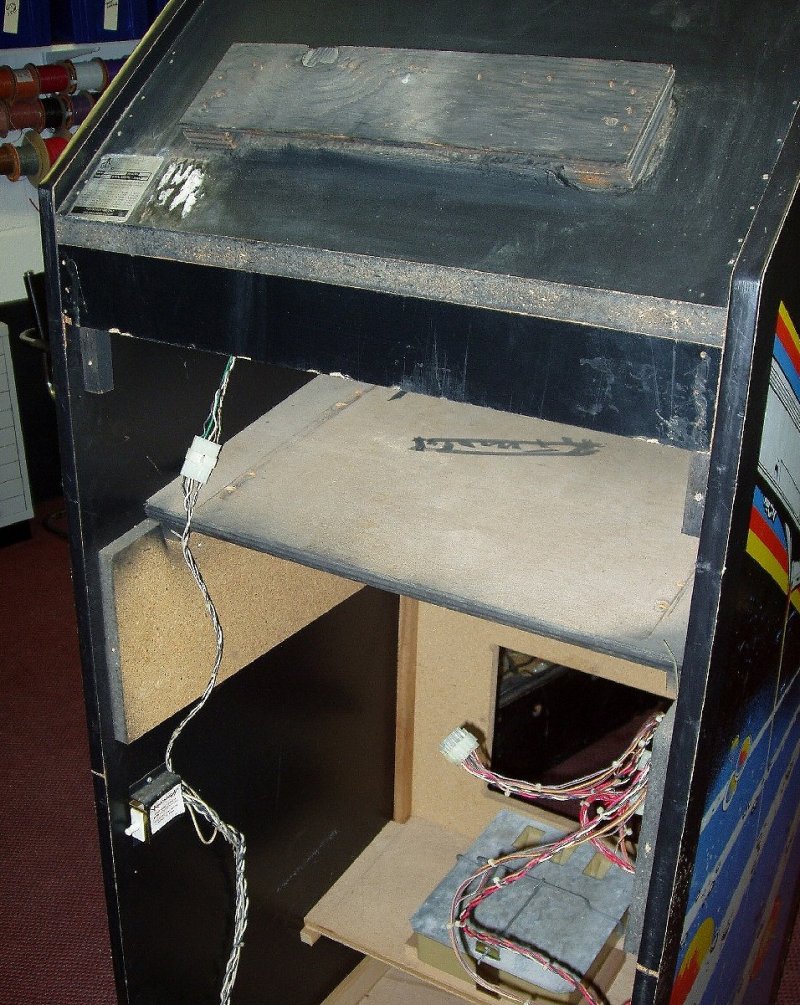
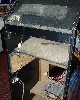
34 insides after total strip clean
202.52 Kb |
35 its all a blur
223.17 Kb |

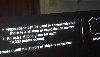
36 mk 1 rom set no copyright msg
23.24 Kb |
37 more blurry sights
163.98 Kb |
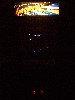
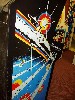
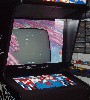
38 Asteroids by night 1
224.44 Kb |
Completed
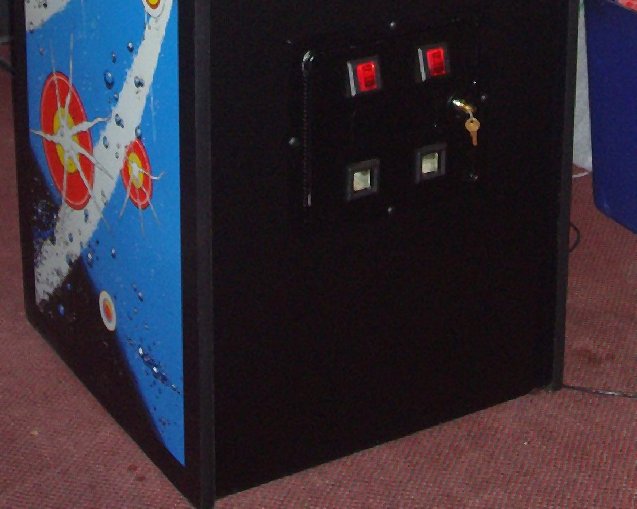
·After electronics were proven to work, everything was removed..
· Removed all ancient locks and hasp bars
· Removed screen bezel and rear A3 instruction card on reverse of rear
door
· Stripped cab completely, all parts out, down to just a bare wood shell
· Removed all plastics, t-molding, all metal screws and staples etc
· Removed all metal coin door assembly, stripped down to bare components
· Removed all moveable wood panels, back door etc.
· Removed all metal brackets for CP and Marquee mounting
· Removed the rusted control panel, removed all buttons and CP loom
· Sanded all exposed wood areas, including underneath the base
· Shot blasted all big external metal - CP, brackets, coin door, door
surrounds - all done professionally by local metal fabrication shop.
· Powder coated all metal in satin black - same place.
· Removed the original broken rusting feet and mounts, sanded underside
to look near new.
· Fitted 4 new heavy duty skids with 24 wood screws into internal wooden
support brackets, this makes it much more stable and movable, they are positioned
carefully so that if the machine is tilted the wood corners no longer crumble
under the weight.
· Made up wood replacement parts where needed
· Hoovered thoroughly !
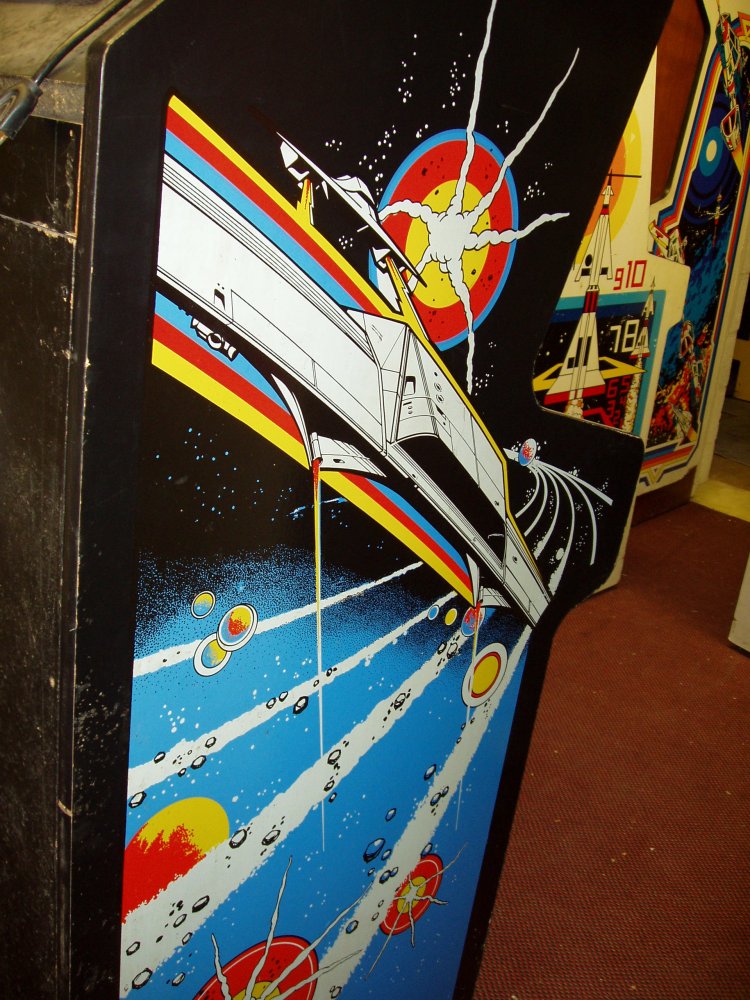
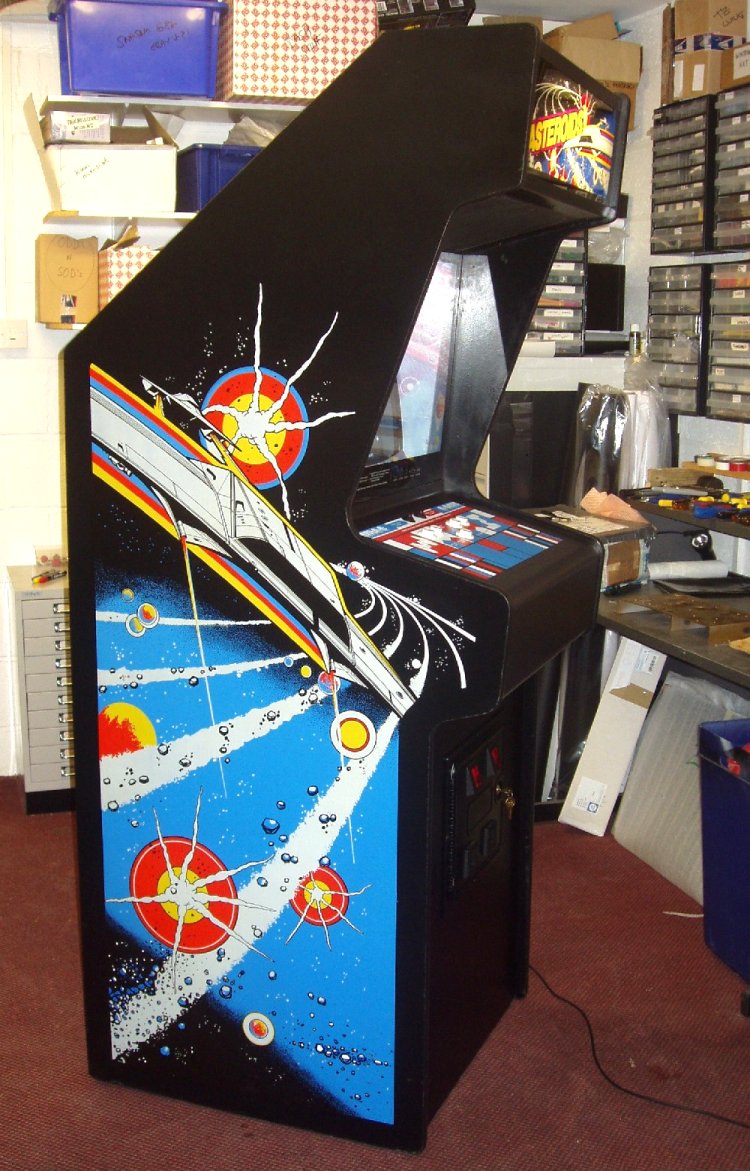
· Cleaned off sides to expose all colour fading, and all damaged side
art areas
· Spend 2 days on the side art repair. This started with filling very
selectively, then fine careful sanding, very careful blending in of stained
sanded areas, then re-drew a hell of a lot of the scratched and filled areas
using special inks, disguising the 25 yrs of damage and aging - where possible.
Some types of scratches are so difficult to fix that its beyond the remit/costing
of this particular restoration. This all avoided the need to fit new side art
- as this looks good but the edges never do ! And its costs loads, and isn't
then original looking.
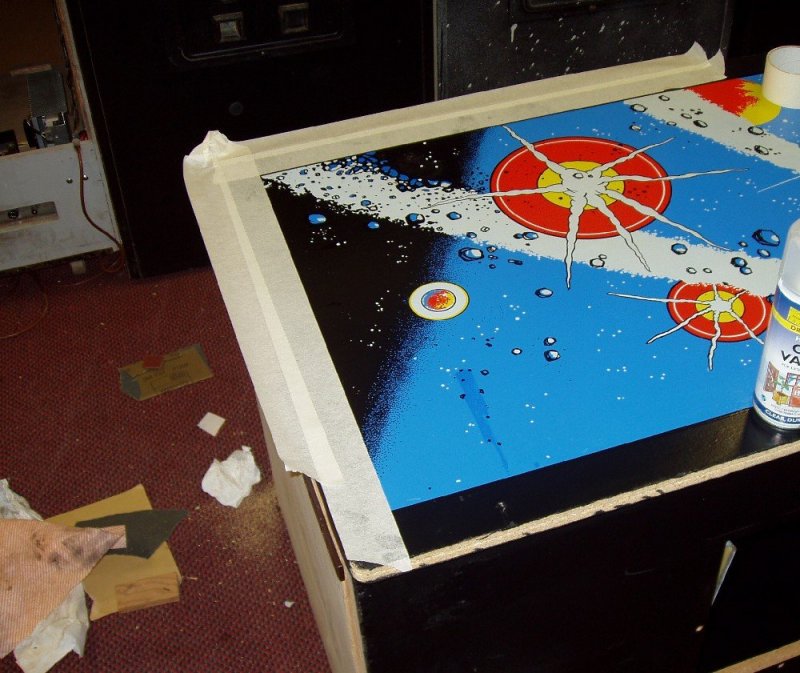
· Did both sides to varying degrees.
· Both final side art repairs were coated in fine clear varnish to reduce
the chances of all the art being further scratched up or even washed off with
any strong cleaning chemicals in the future. This stuff is evil though and cannot
be breathed, touched, smelt, looked at - nothing ! and it has to be done outdoors,
so getting the weather right was a bit of a delaying factor.
· Cleaned up rear wood areas, base, rear sides, top of cab and slanted
bit.
· Removed damaged stickers and decals
· Masked off the alloy SN sticker (non replaceable)
· Sprayed all of rear in 2 layers of satin black.
· Trimmed edges of all the main sides
· Applied black paint to all t-molding edges to reduce wood chip edges,
imported from USA
· Applied two sets of 18mm black curved t-molding, clipped appropriately
for fitting around all the convex and concave bends - not as easy as it sounds
until you know the simple tricks of the trade
· Reshaped the back door as it was bent.
· Sprayed rear door satin black
· Cleaned PSU, replaced fuses, applied new copper banding to transformer
· Converted PSU to run on 240 v not 110v
· Main logic board needed 12 hrs of fixing, fault tracing and half a
dozen new chips.
· Fitted Hi score chip daughter board to processor area, imported from
USA
· Cleaned AR2 board, and loom.
· Replaced the fluorescent lighting system with new tube, ballast, and
starter
· Rewired inlet mains cable holder, fitted new mains plug and 15 ft of
cable.
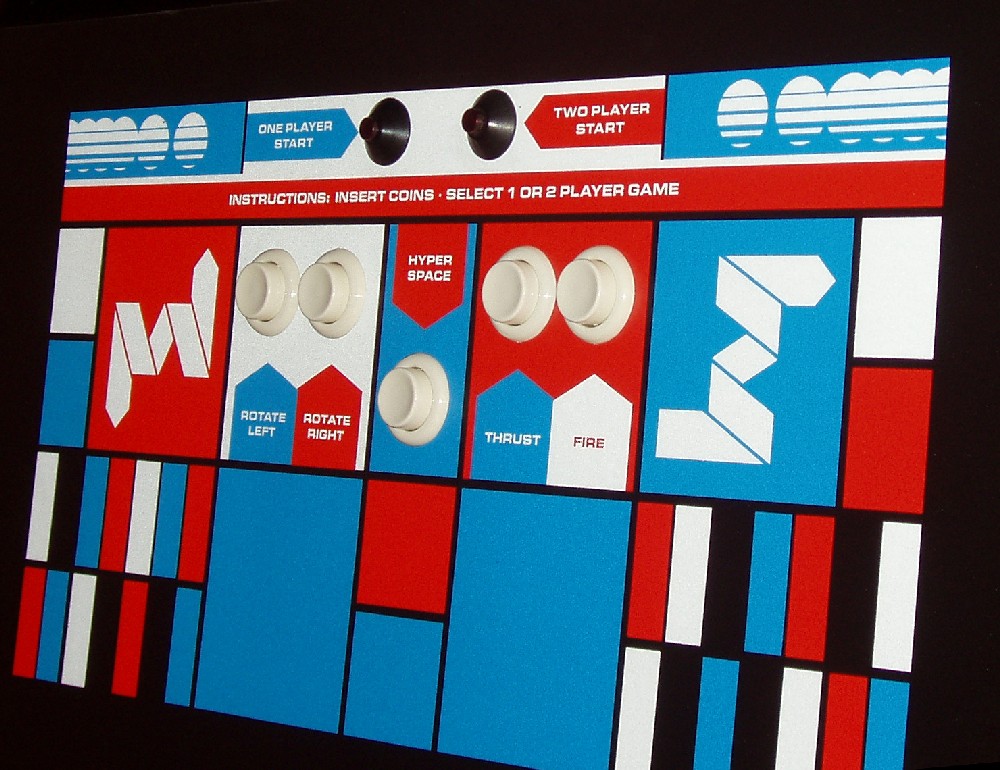
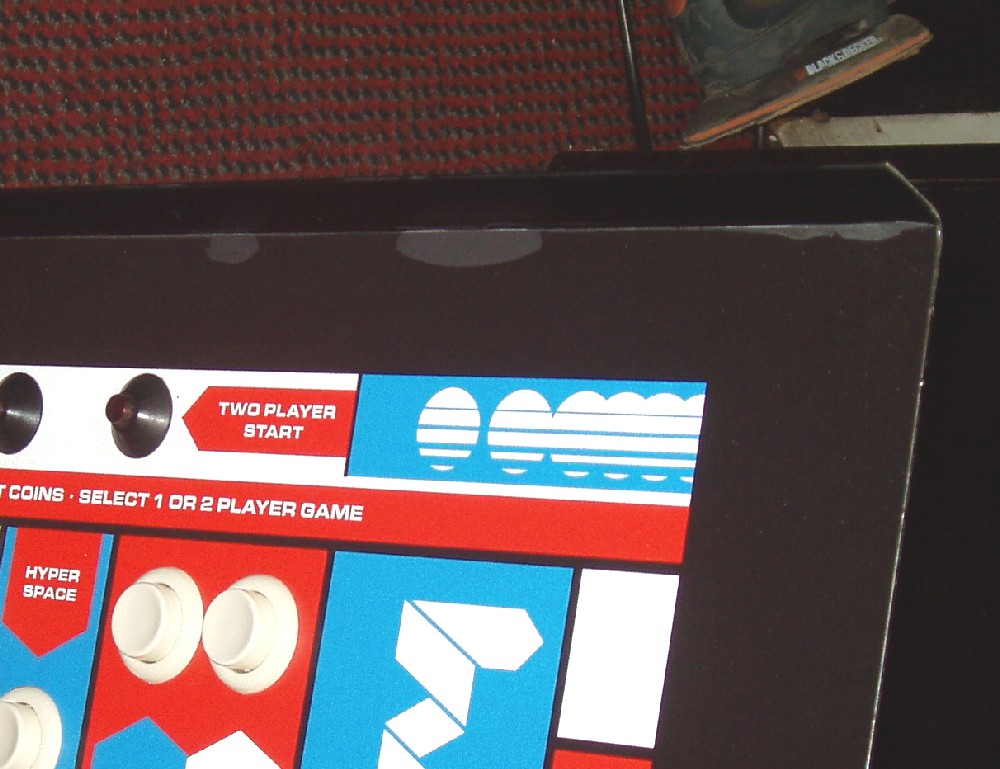
· Applied new control panel overlay to the clean restored control panel,
imported from USA - but had problems with laminate and had to fit a second one.
· Fitted all new wico white buttons and replaced one of the start button
assemblies
· Cleaned front of cab avoiding a difficult repaint
· Removed all cardboard bezel and discarded as its beyond reasonable
repair
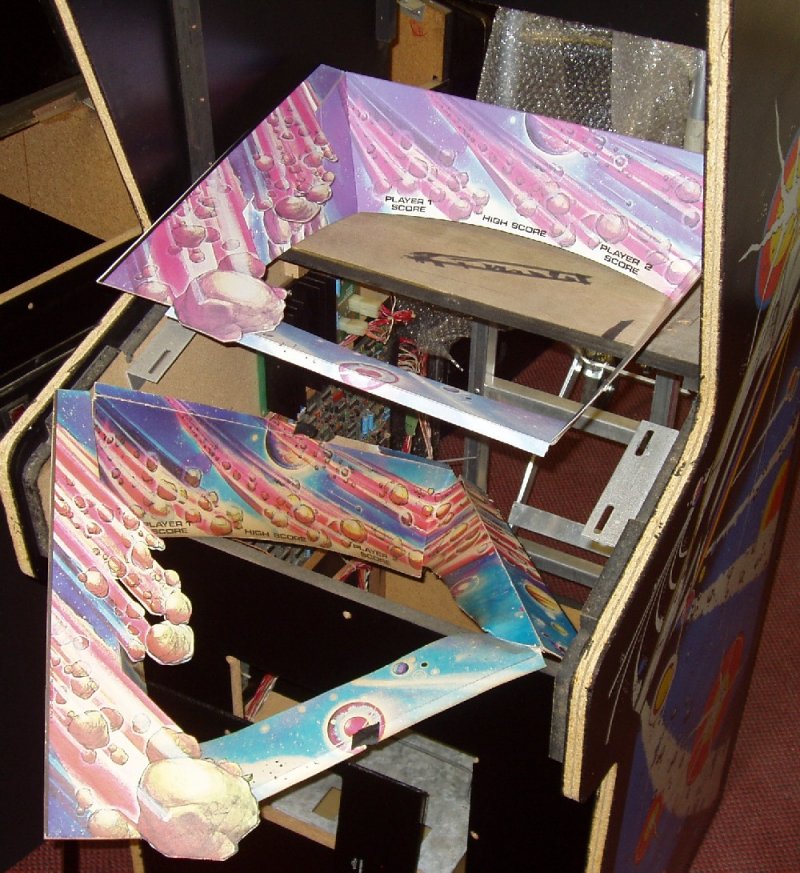
· Constructed new screen bezel using cardboard kit imported from USA
· On examining the screen with the back printed instructions, a lot of
flaking of the instructions was found meaning it was all falling off. So it
was scanned and a section reprinted so as to apply to the rear making the instructions
readable once more.
· Main Screen had 25 yrs of angry looser scratches all over it, which
luckily weren't too bad, and were removed with some serious rubbing down using
very fine polish/remover.
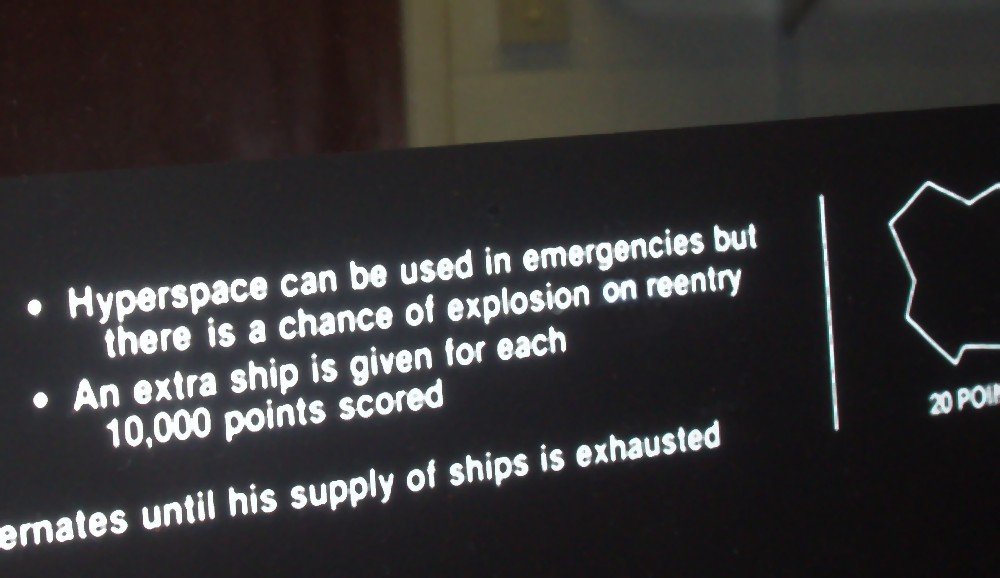
· Scanned instruction sheet and edited all missing areas. Converted back
to clean image on white background, reprinted on large format printer, and attached
a final one to back door.
To do:
· Strip and rebuild entire deflection and EHT assembly of the vector
monitor.
· Redo the AR CPO as the laminate is still not perfect. Fit my own print.
· Refit new same-code locks and keys to the coin door assembly and rear
access door